Adilas API setup

To Setup the POSaBIT API:
- Login to secure.posabit.com.
- Click on Tools from the navigation menu and select POSaBIT Connection.
- Click on the Settings button for Adilas.
- Click the Generate New API Key button.
- Copy the entire API key.
- Login to Adilas.
- Navigate to the classic homepage.
- Select Manage Corp Info & Permissions from the System Management section.
- Click Go.
- Click on the More Options... button.
- Click on 3rd Party Solutions.
- Find POSaBIT on the list of Adilas approved third party solutions.
- Enter the # of Location(s) if you have more than one business locations.
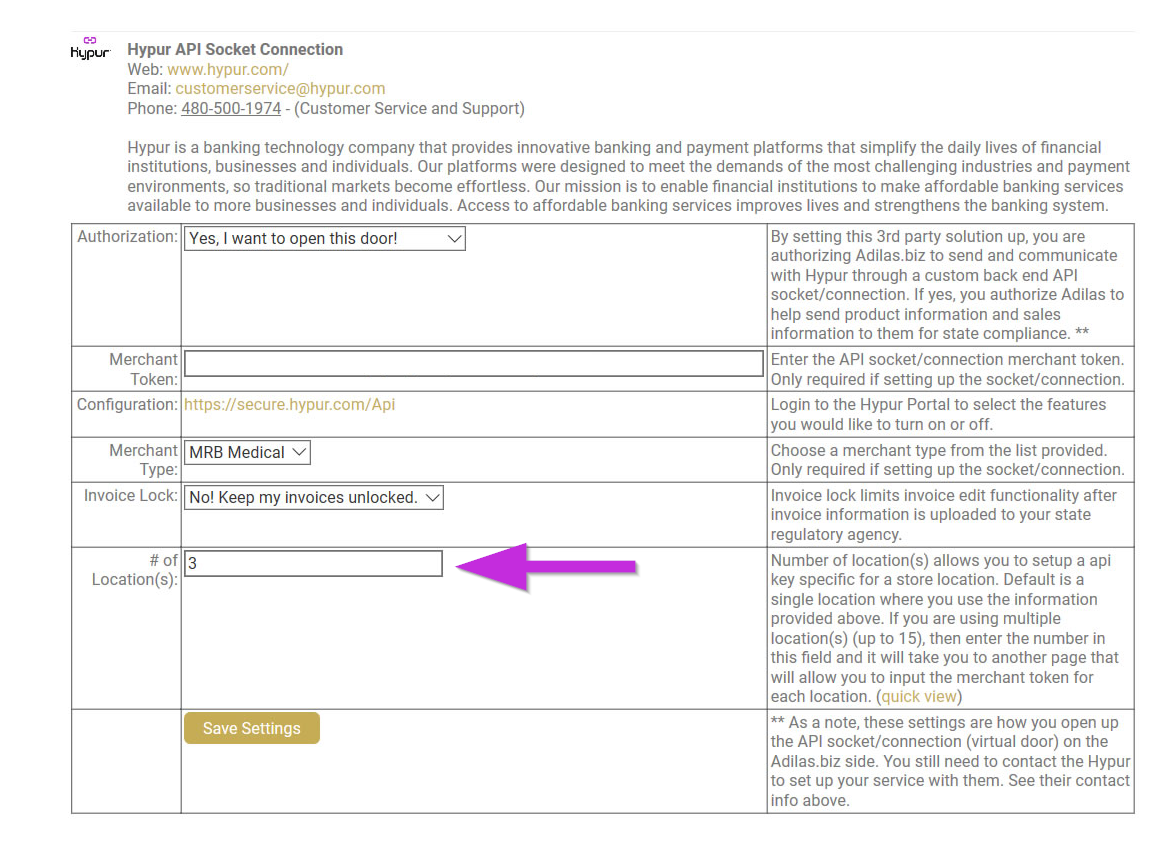
- Click the Save Settings button. The POSaBIT 3rd party solution section is setup for one business as a default. You do not need to change the number of business locations or click save before filling out other fields if you only have one business location.
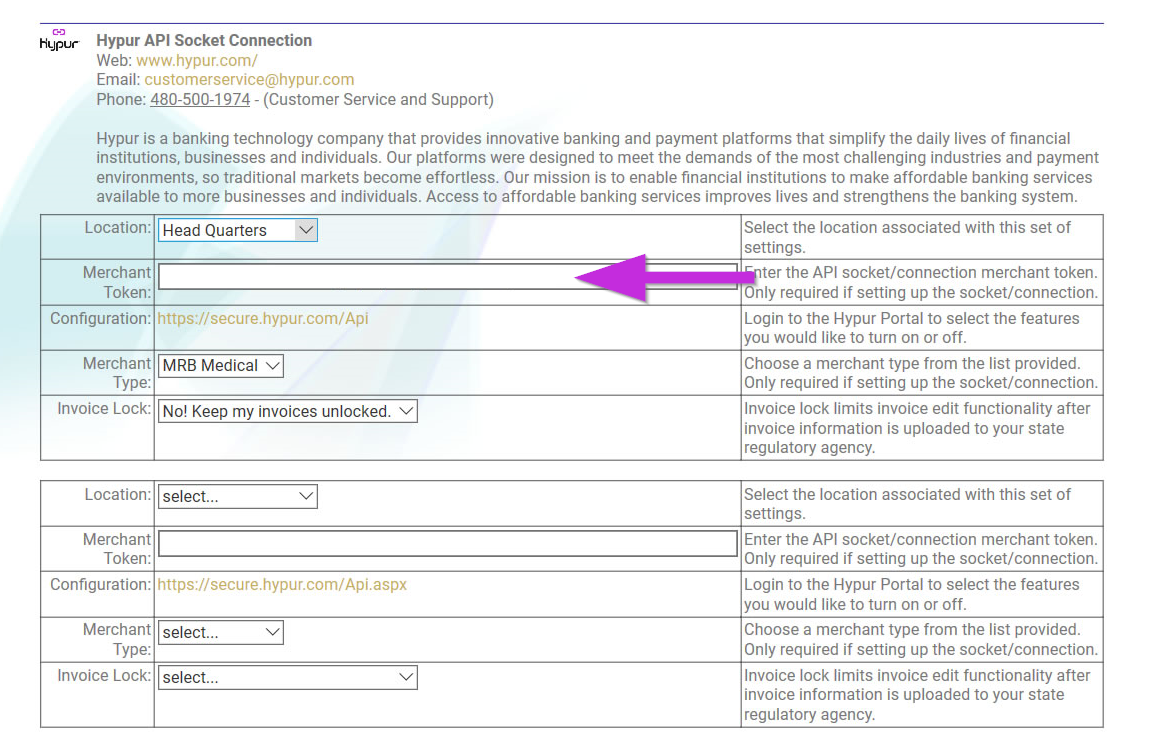
- Select the business location from the Location drop-down menu for each location. You will not see the location drop-down menu if you only have one business location.

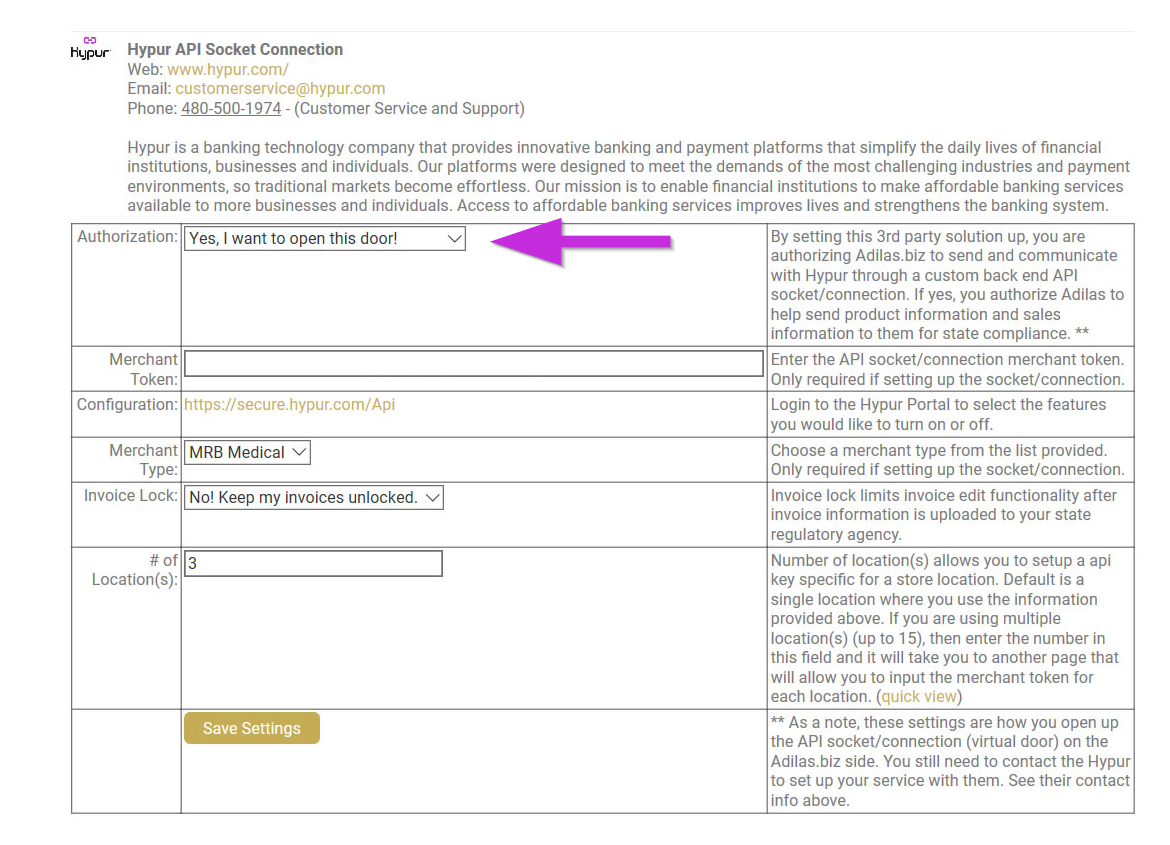
- Select Yes, I want to open this door! In the Authorization section if you only have one business location.
- Paste your API key into the Merchant Token section for each location. Each business location will have a unique API key. Steps 1-5 should be repeated to get the correct API key for each business location.
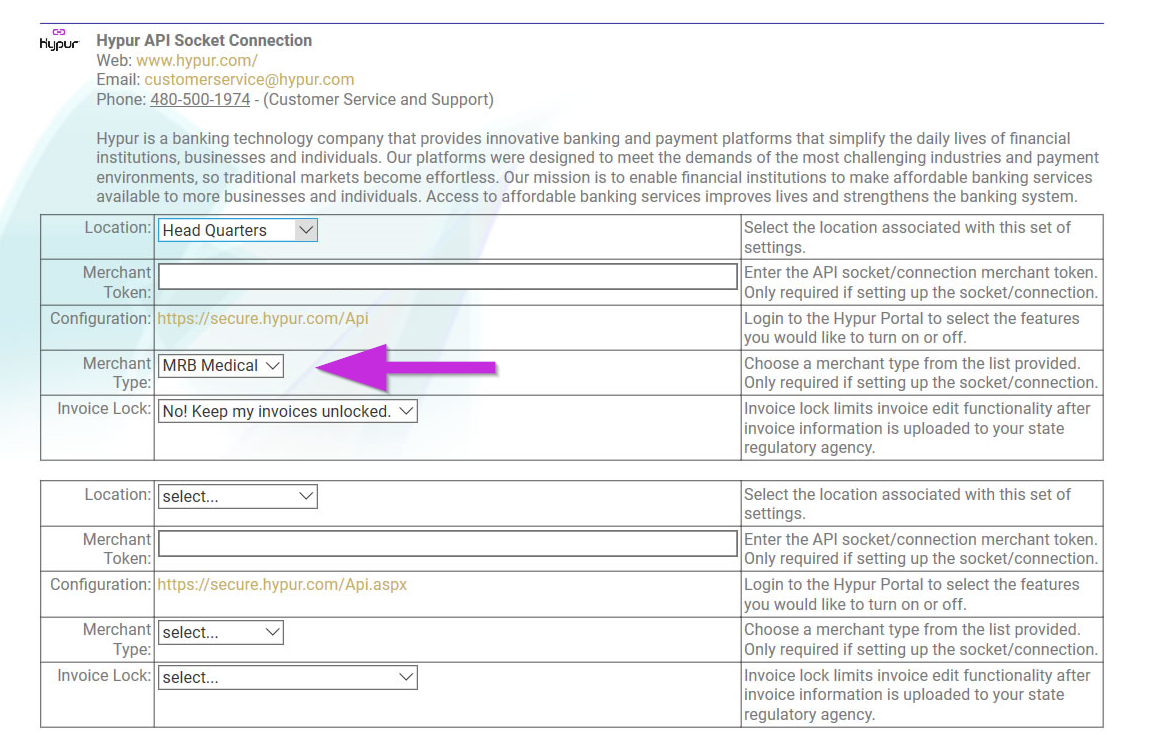
- Select the Merchant Type from the drop-down menu for each location.
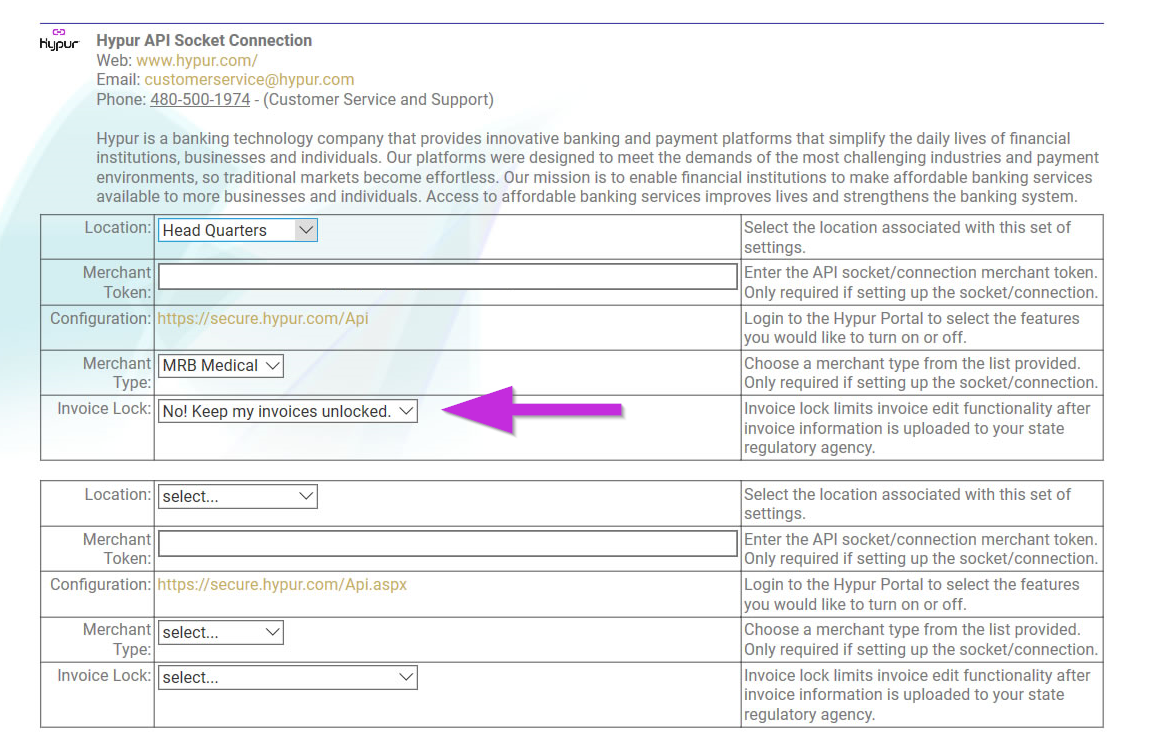
- Select your preferred Invoice Lock settings from the drop-down menu for each location.
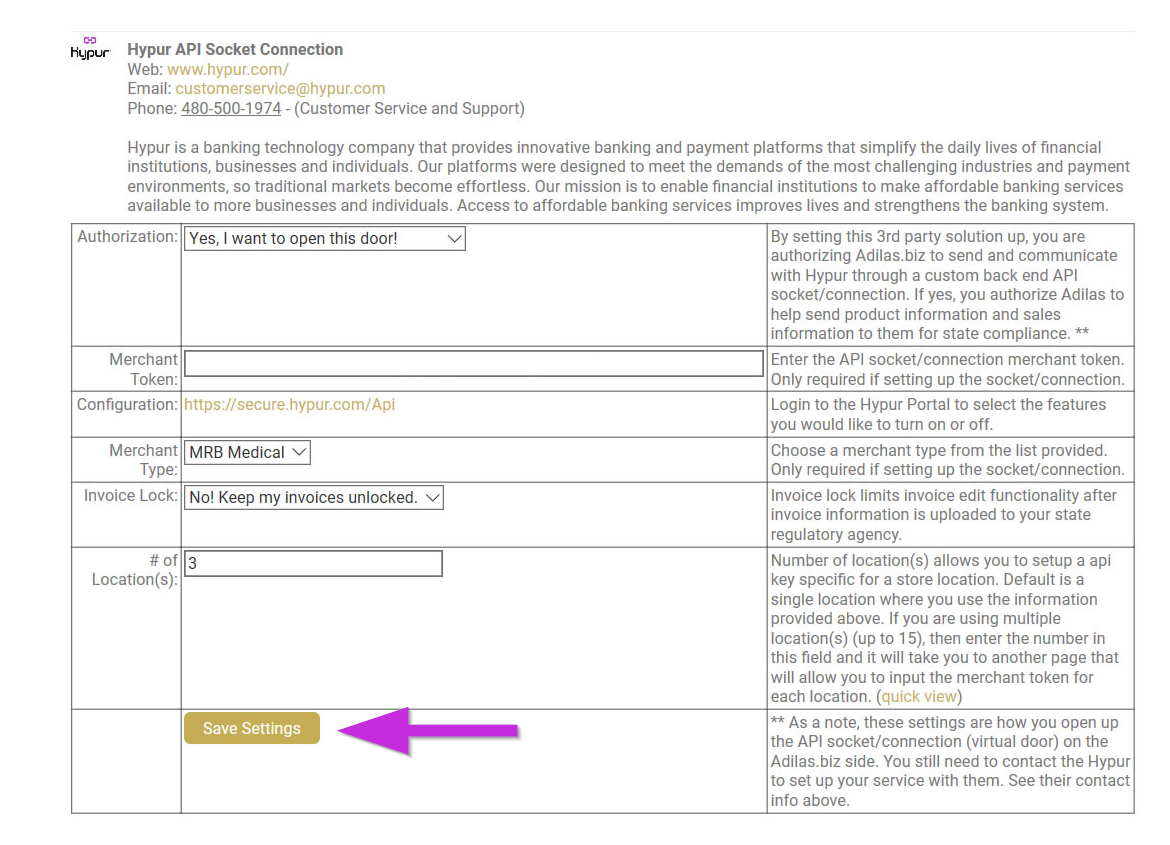
- Click the Save Settings button.
To Add POSaBIT Pay as a Payment Type
- Login to Adilas.
- Navigate to the classic homepage.
- Select Manage Corp Info & Permissions from the System Management section.
- Click Go.
- Click on the More Options... button.
- Click on Select Money Type Settings.
- Check the box for Cart and Invoice for POSaBIT Pay.
- Click Click to Submit Selections.