WooCommerce POSaBIT Pay Plugin

To download the WooCommerce POSaBIT Plugin:
- Login to secure.posabit.com.
- Click on Tools and select POSaBIT Connection.
- Click Setup for WooCommerce.
- Click Here on step two to download the WooCommerce plugin zip file.
- Click the Generate API Key button. Your API Key, Client ID, and Client Secret will be generated when you click the Generate API Key button. You will be asked for your API Key, Client ID, and Client Secret when you setup the plugin.
- Enter the checkout URL for your online store. The checkout URL is the page your customers use to enter billing details.
- Click Submit.
- A success confirmation will be displayed.
To enable the POSaBIT Plugin using WordPress:
- Login to your WordPress Admin Page.
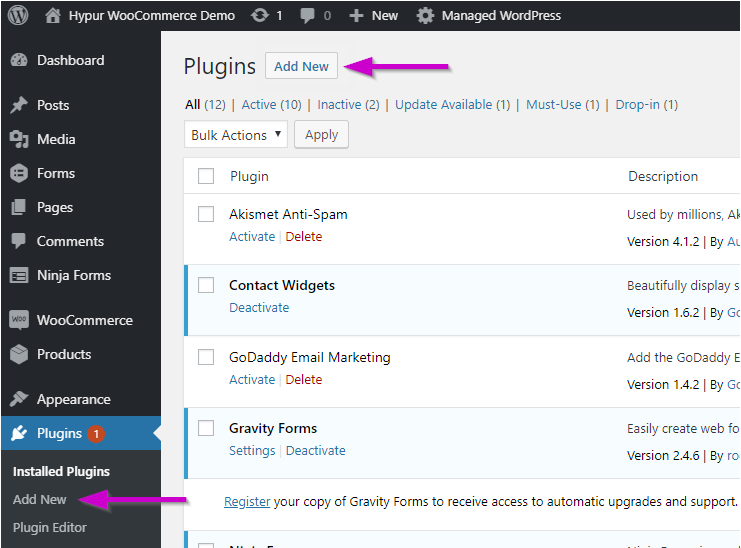
- Navigate to Plugins.
- Click Add New.
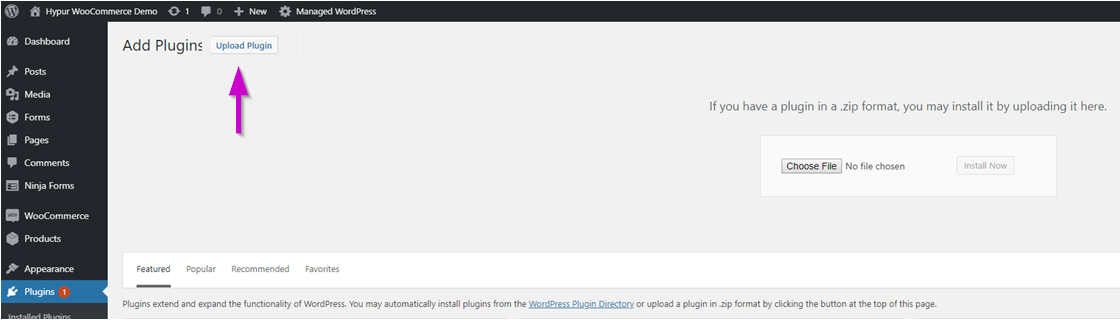
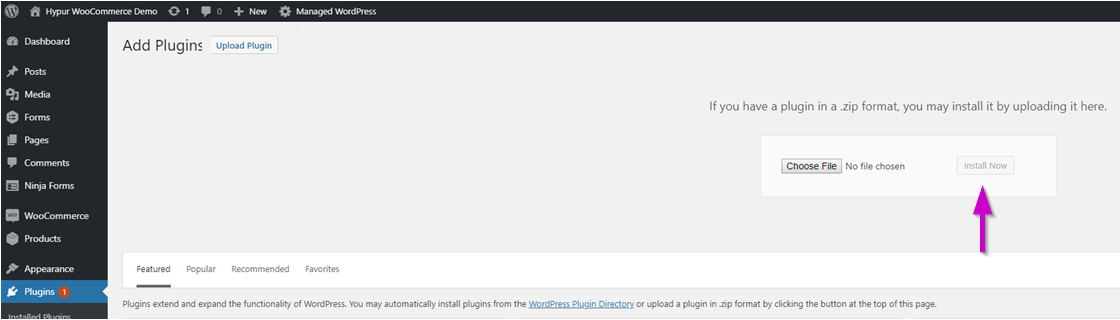
- Click the Upload Plugin button.
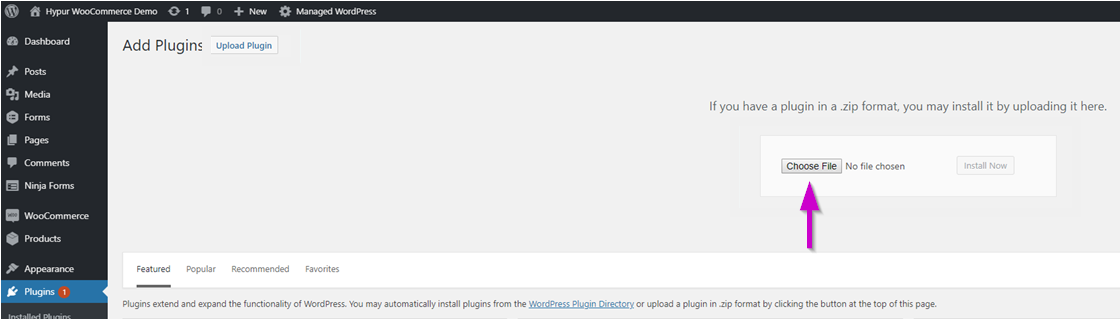
- Click Choose File and select a zip file. Select the WooCommerce Plugin zip file that was downloaded from the POSaBIT Connection setup page for WooCommerce.
- Click the Install Now button.
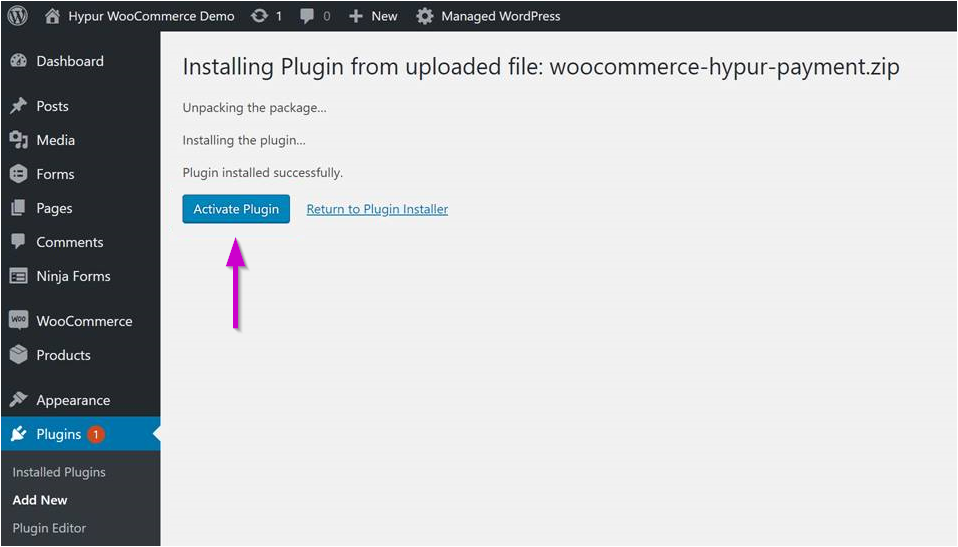
- You will receive a confirmation that the plugin was successfully installed.
- Click the Activate Plugin button.
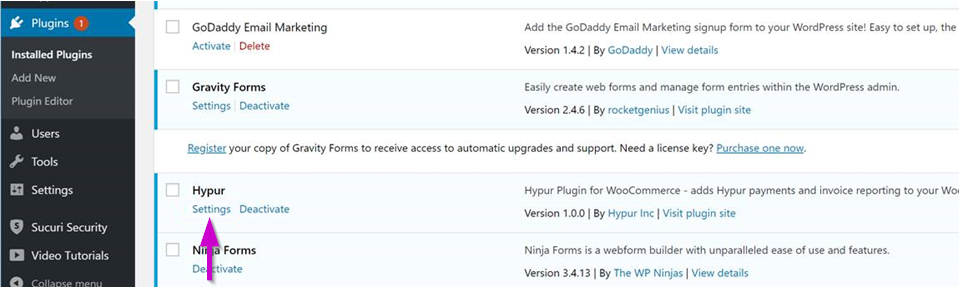
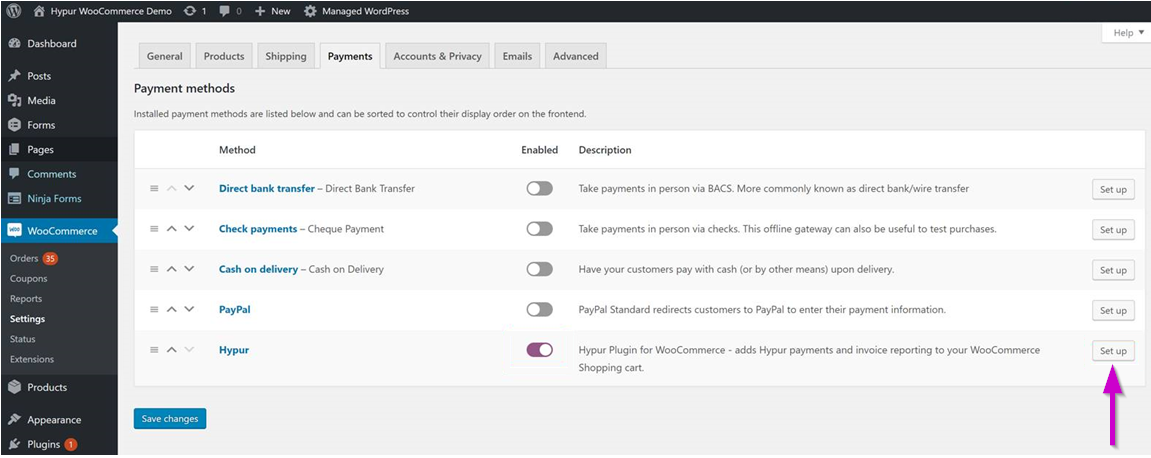
- Click on Settings for the POSaBIT (Hypur) Plugin.
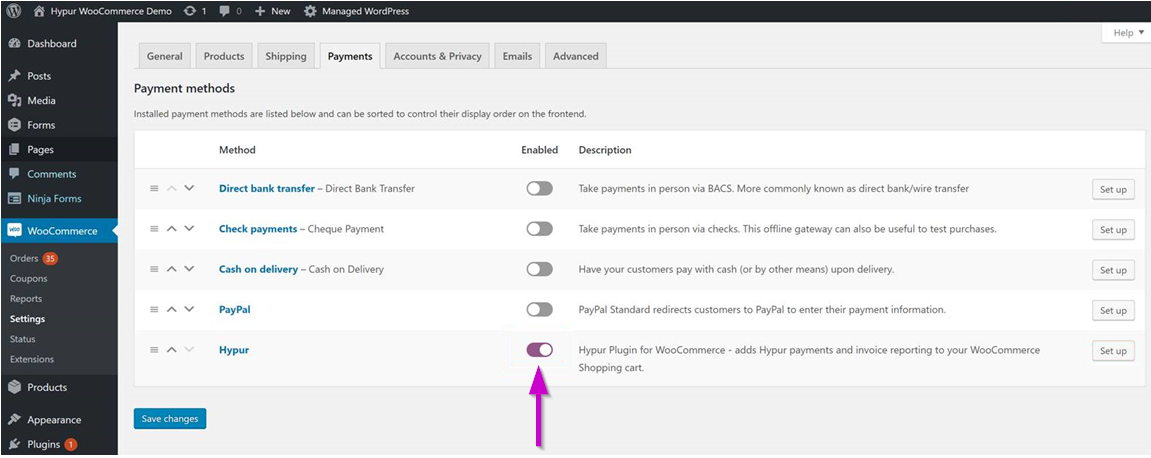
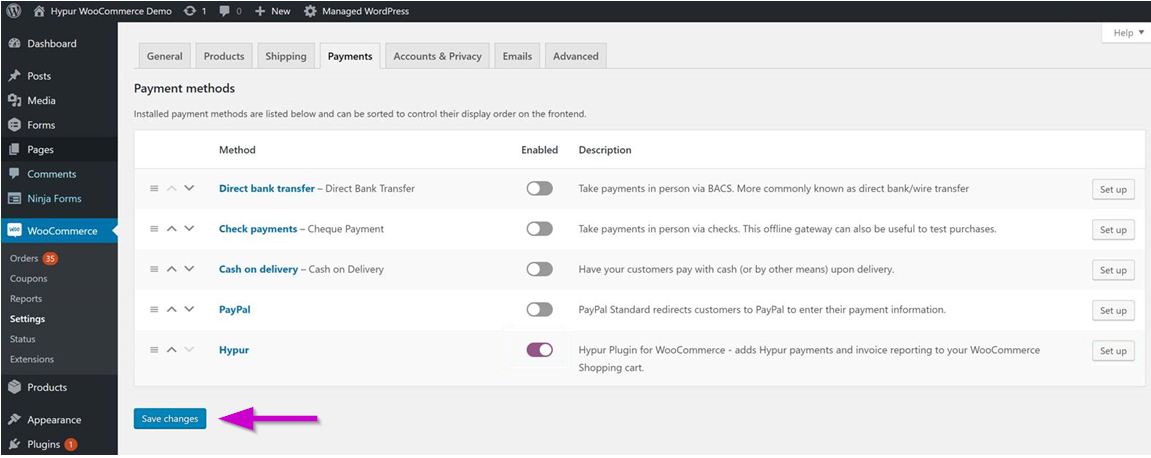
- Click on the on/off toggle switch to Enable the POSaBIT (Hypur) Plugin.
- Click Setup for the POSaBIT (Hypur) Plugin.
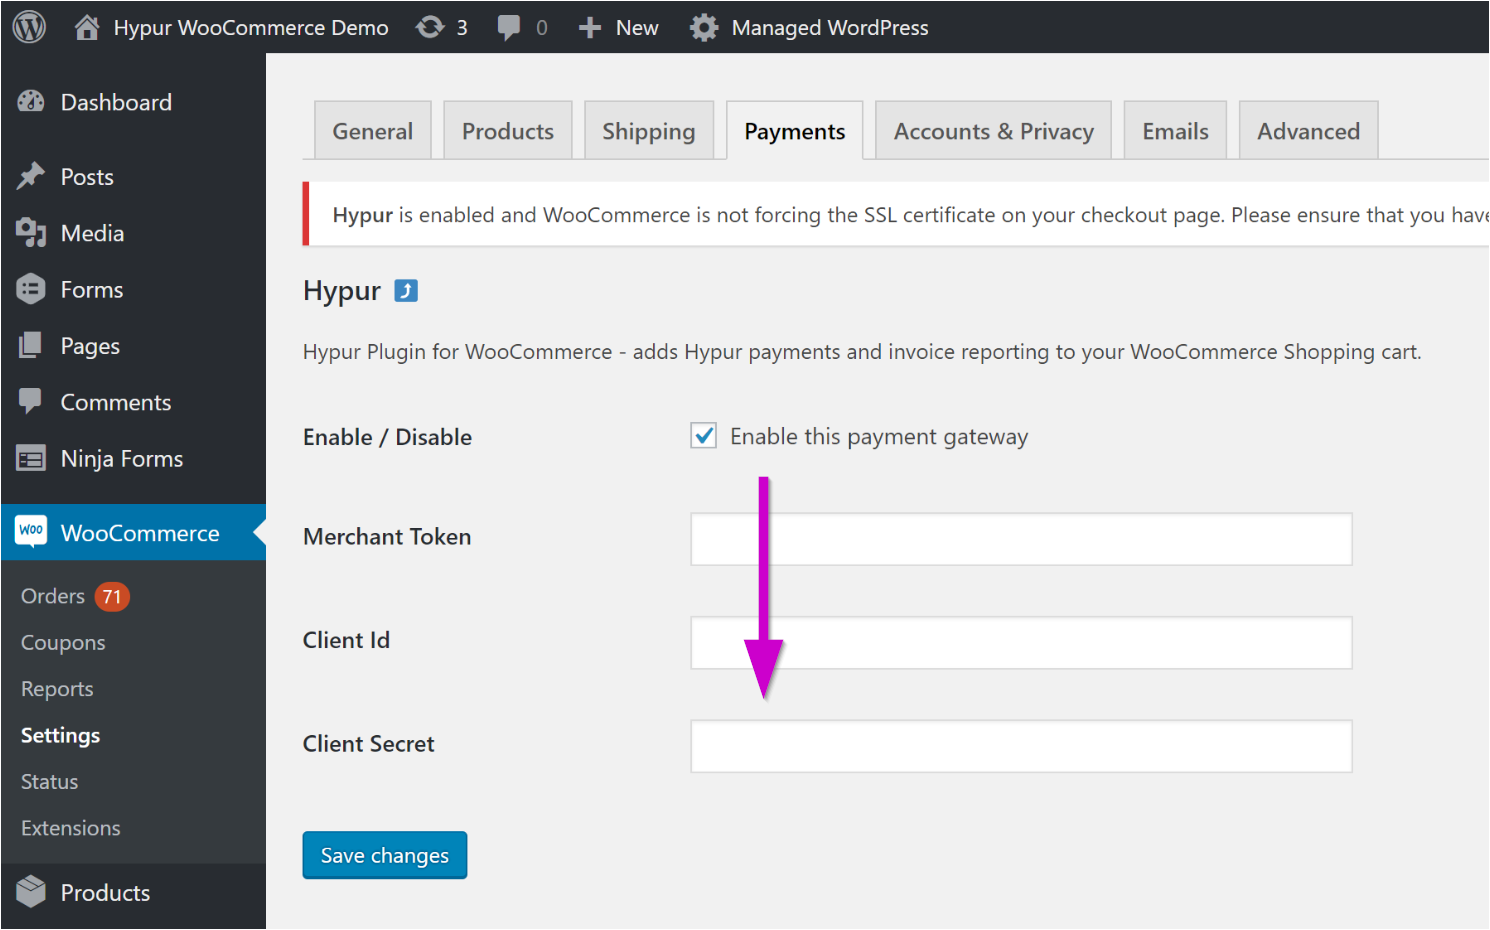
- Check Enable this payment gateway.
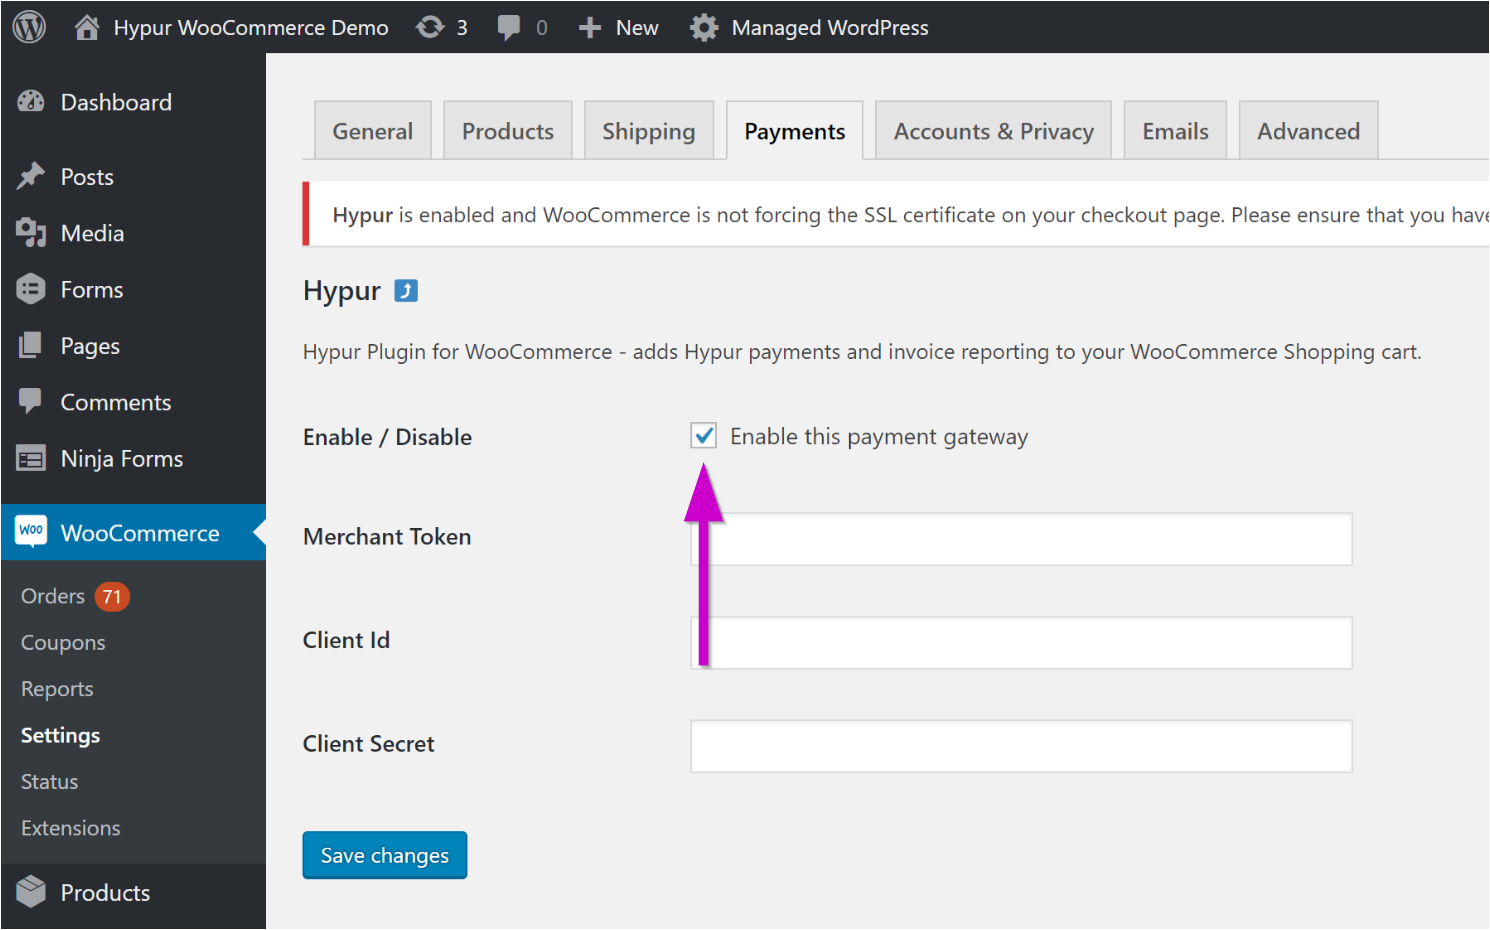
- Copy the API Key from the POSaBIT (Hypur) Connection WooCommerce setup page and paste it in the Merchant Token field.
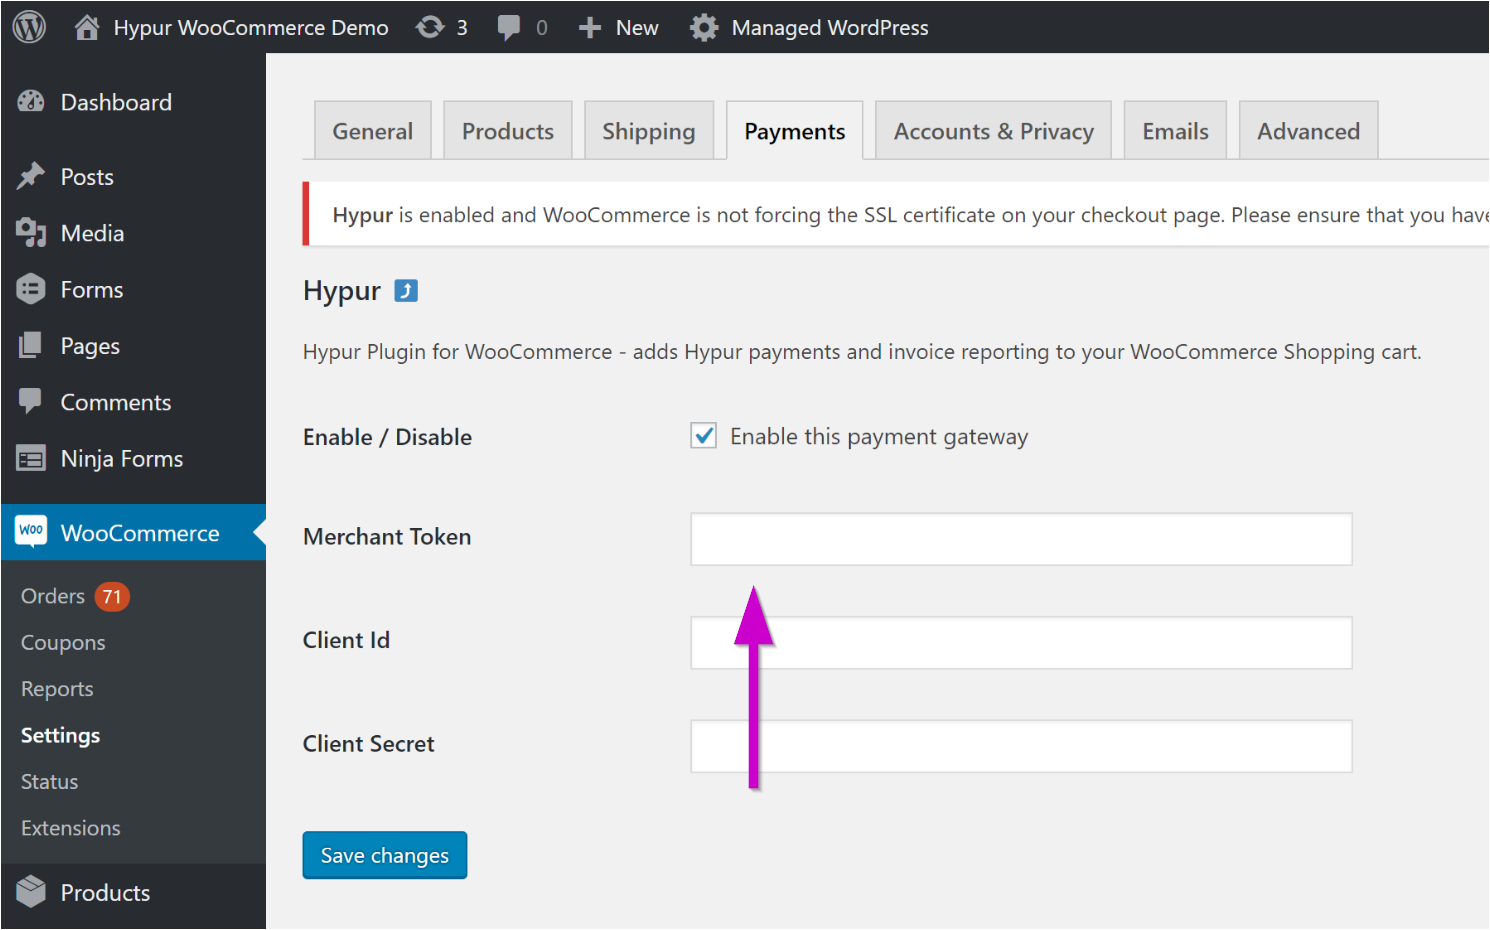
- Copy the Client ID from the POSaBIT (Hypur) Connection WooCommerce setup page and paste in the Client Id field.
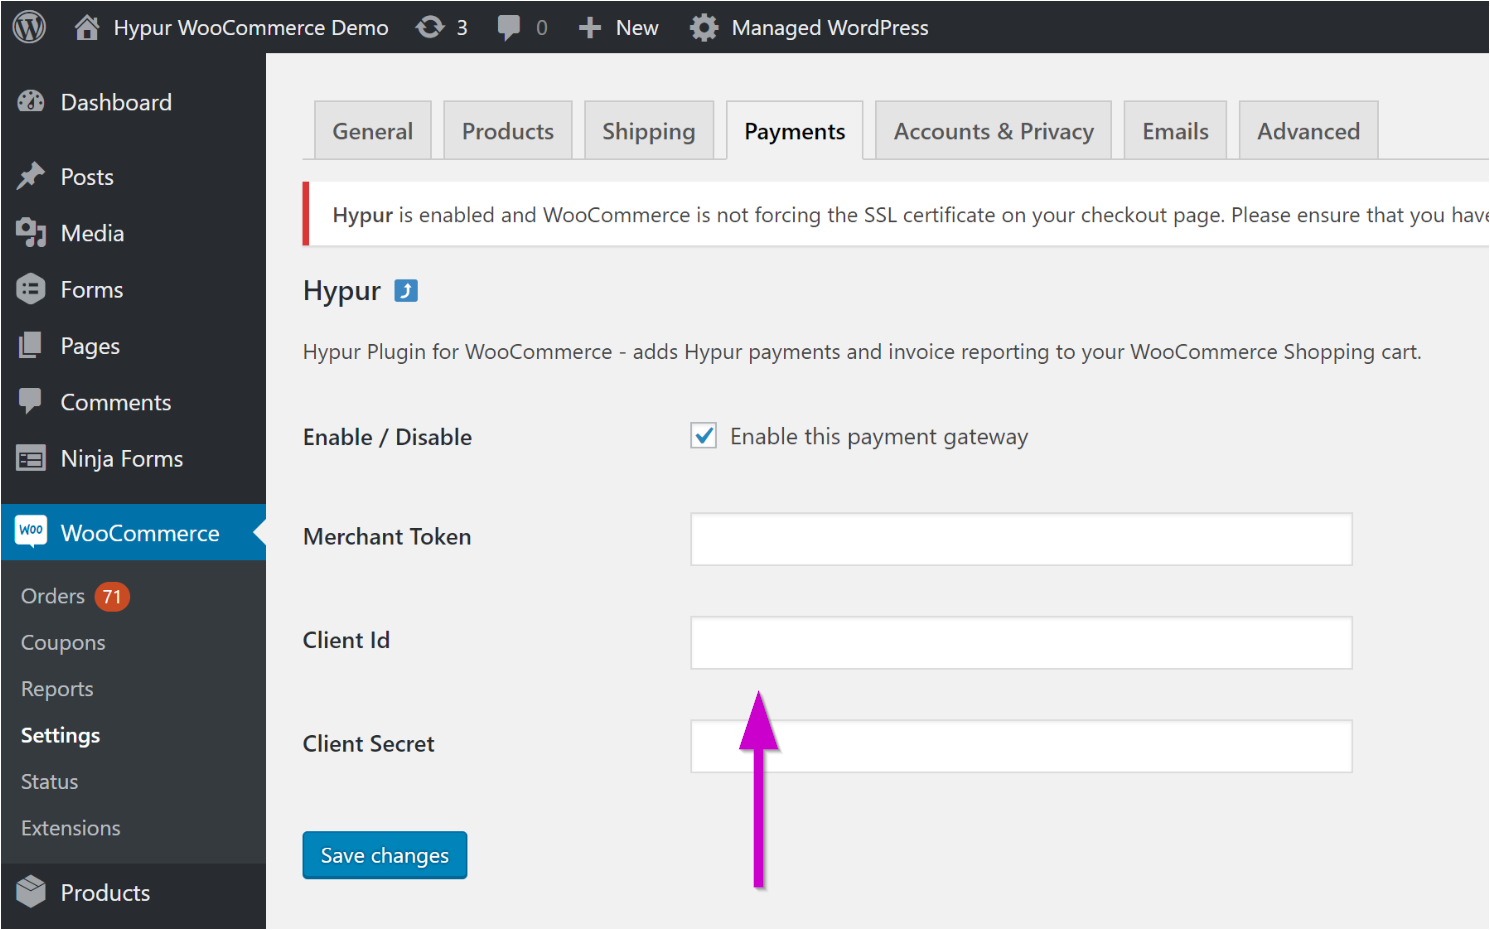
- Copy the Client Secret from the POSaBIT (Hypur) Connection WooCommerce setup page and paste it in the Client Secret field.
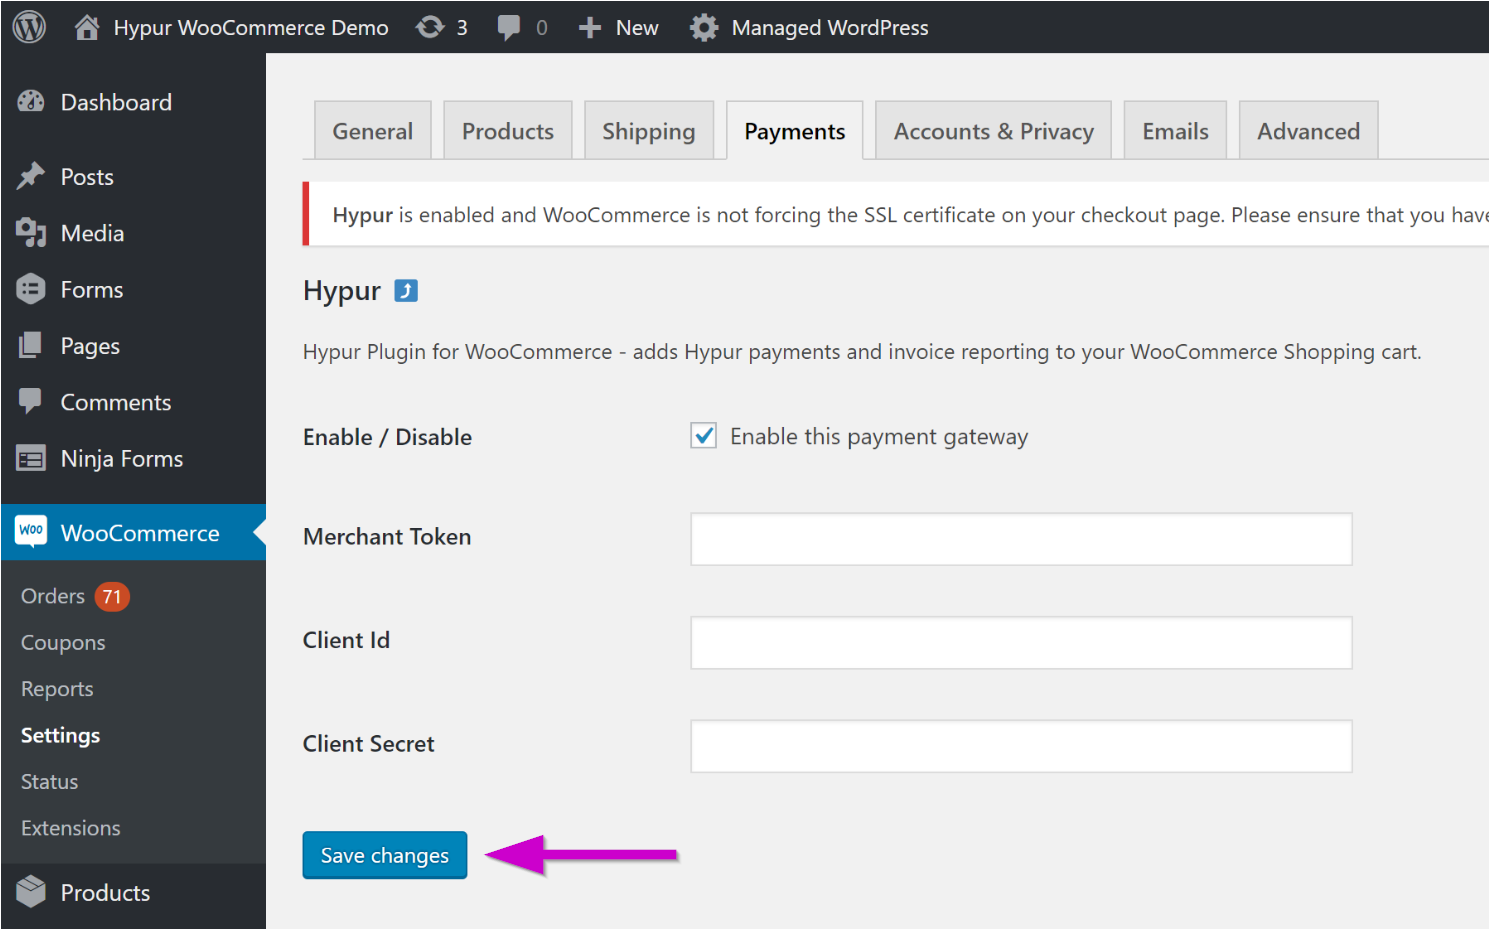
- Click the Save Changes button.
- Click the Save Changes button on the Payments tab.
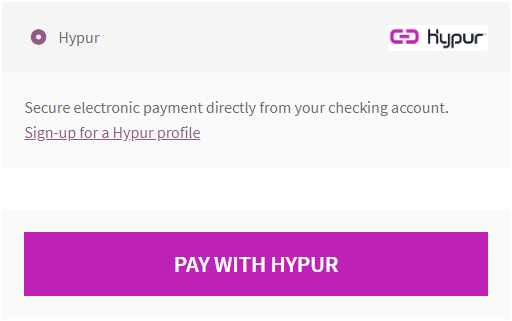
- Verify that the POSaBIT Pay Plugin appears in your shopping cart.