How to Log into the POSaBIT Payments App on a QD Terminal

The following steps can be used to log into the POSaBIT application onto a QD2 or QD4 debit terminal.
Steps to Login to the POSaBIT Application
- If the POSaBIT Payments application is not already open, select the POSaBIT application from the Android home screen.
- Once the POSaBIT Application is open, you will see a message saying “Welcome to POSaBIT”, press “Get Started” to continue

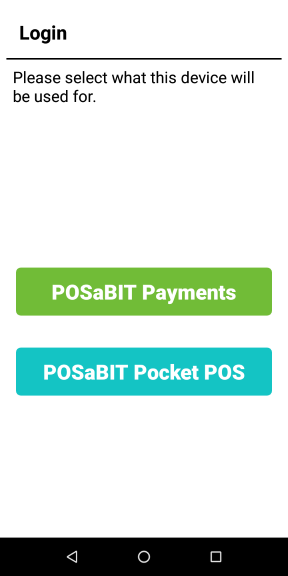
- Next press “POSaBIT Payments”
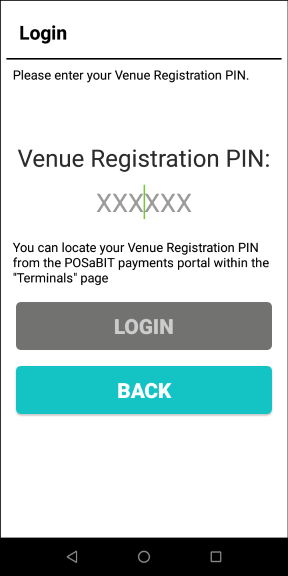
- After selecting “POSaBIT Payments”, you will be prompted to enter your venue’s “Venue Registration PIN”. This will either be given to you by your POSaBIT account rep or can be found using the steps below:
- Login to my.posabit.com
- Using the left-hand navigation select “Account” -> “Terminals”
- Your Venue Registration PIN can be found at the top of the terminals page (above the list of terminals)

- Enter your “Venue Registration PIN” to login to your account within the POSaBIT Payments application.
- If you receive any error messages please reach out to your POSaBIT account rep or POSaBIT support.
- If you receive any error messages please reach out to your POSaBIT account rep or POSaBIT support.
- Once you login, you will see the transaction start screen. Next, click the button labeled “CLICK HERE TO START PURCHASE”.
- Next, press on the hamburger menu on the top left-hand corner of the screen and select “Settings” from the left-hand navigation menu.
- Within settings use the debit terminal dropdown to select the terminal profile you would like to associate to this terminal.
- Finally, press “Save Settings” at the bottom of the page to save your terminal settings.