Custom Discount Reports

Welcome to a new age of reporting! POSaBIT is thrilled to add custom discount reporting with the ability to build all the discount reports you desire. In this article, you will learn all the ins and outs of POSaBIT's custom discount reporting.
Building Custom Discount Reports
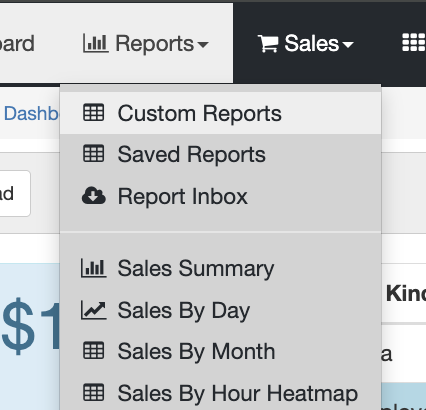
To get to the custom sales reports, go to the POS portal --> Reports --> Custom Reports.
Custom Discount Reporting Basics
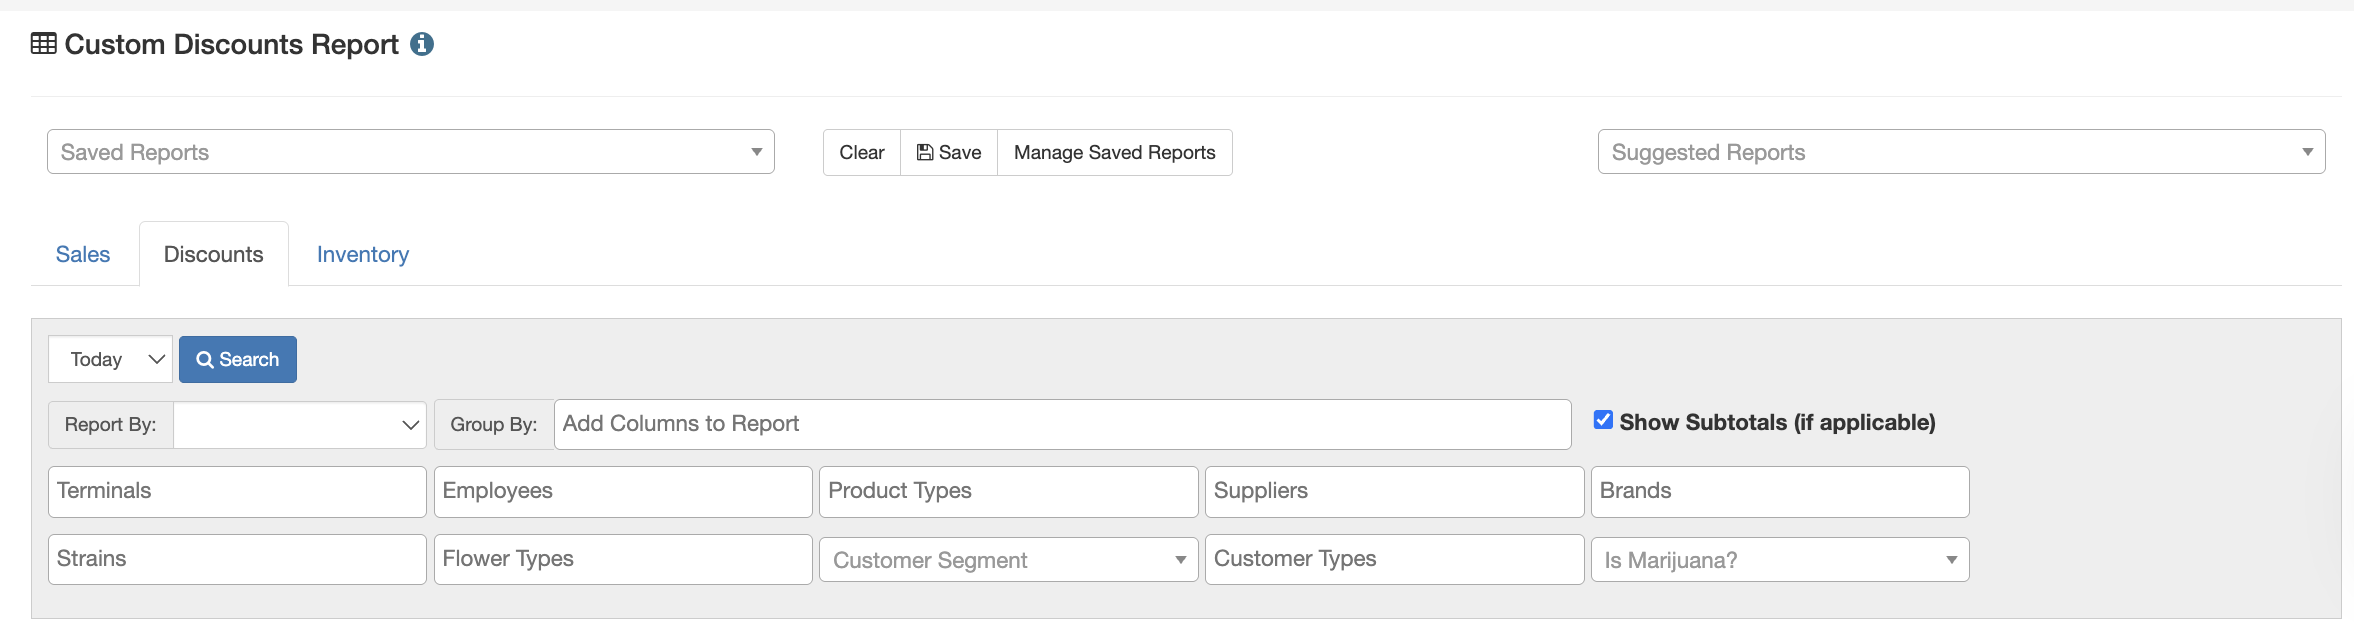
From the Custom Reports page, you will select Discounts at the top. Then you can select what you would like to Report By, and Group By based on what is being reported, display subtotals (when applicable), add optional filters, and customize the date range.
- Date Range (Custom Date Ranges now have no restriction)
- Report By: This is what the report will start filtering by (Example: Product Type will show the discounts used by different product types)
- Group By: This is how the report will group the "Report by" items (Example: If Product Type is the Report By and Group By is Customer Type, it will show a breakdown of each customer type for the different product types).
- Show Subtotals: Enabling this will show subtotals of the groups.
- Download CSV / Download Excel: These will download the custom report based on the customized settings of the report into either a CSV or Excel file.
- Columns: Show or hide columns based on your preference.

Example Custom Report: Report by Product Brand, and group by Product Type, enabled subtotals, and it would look like this:
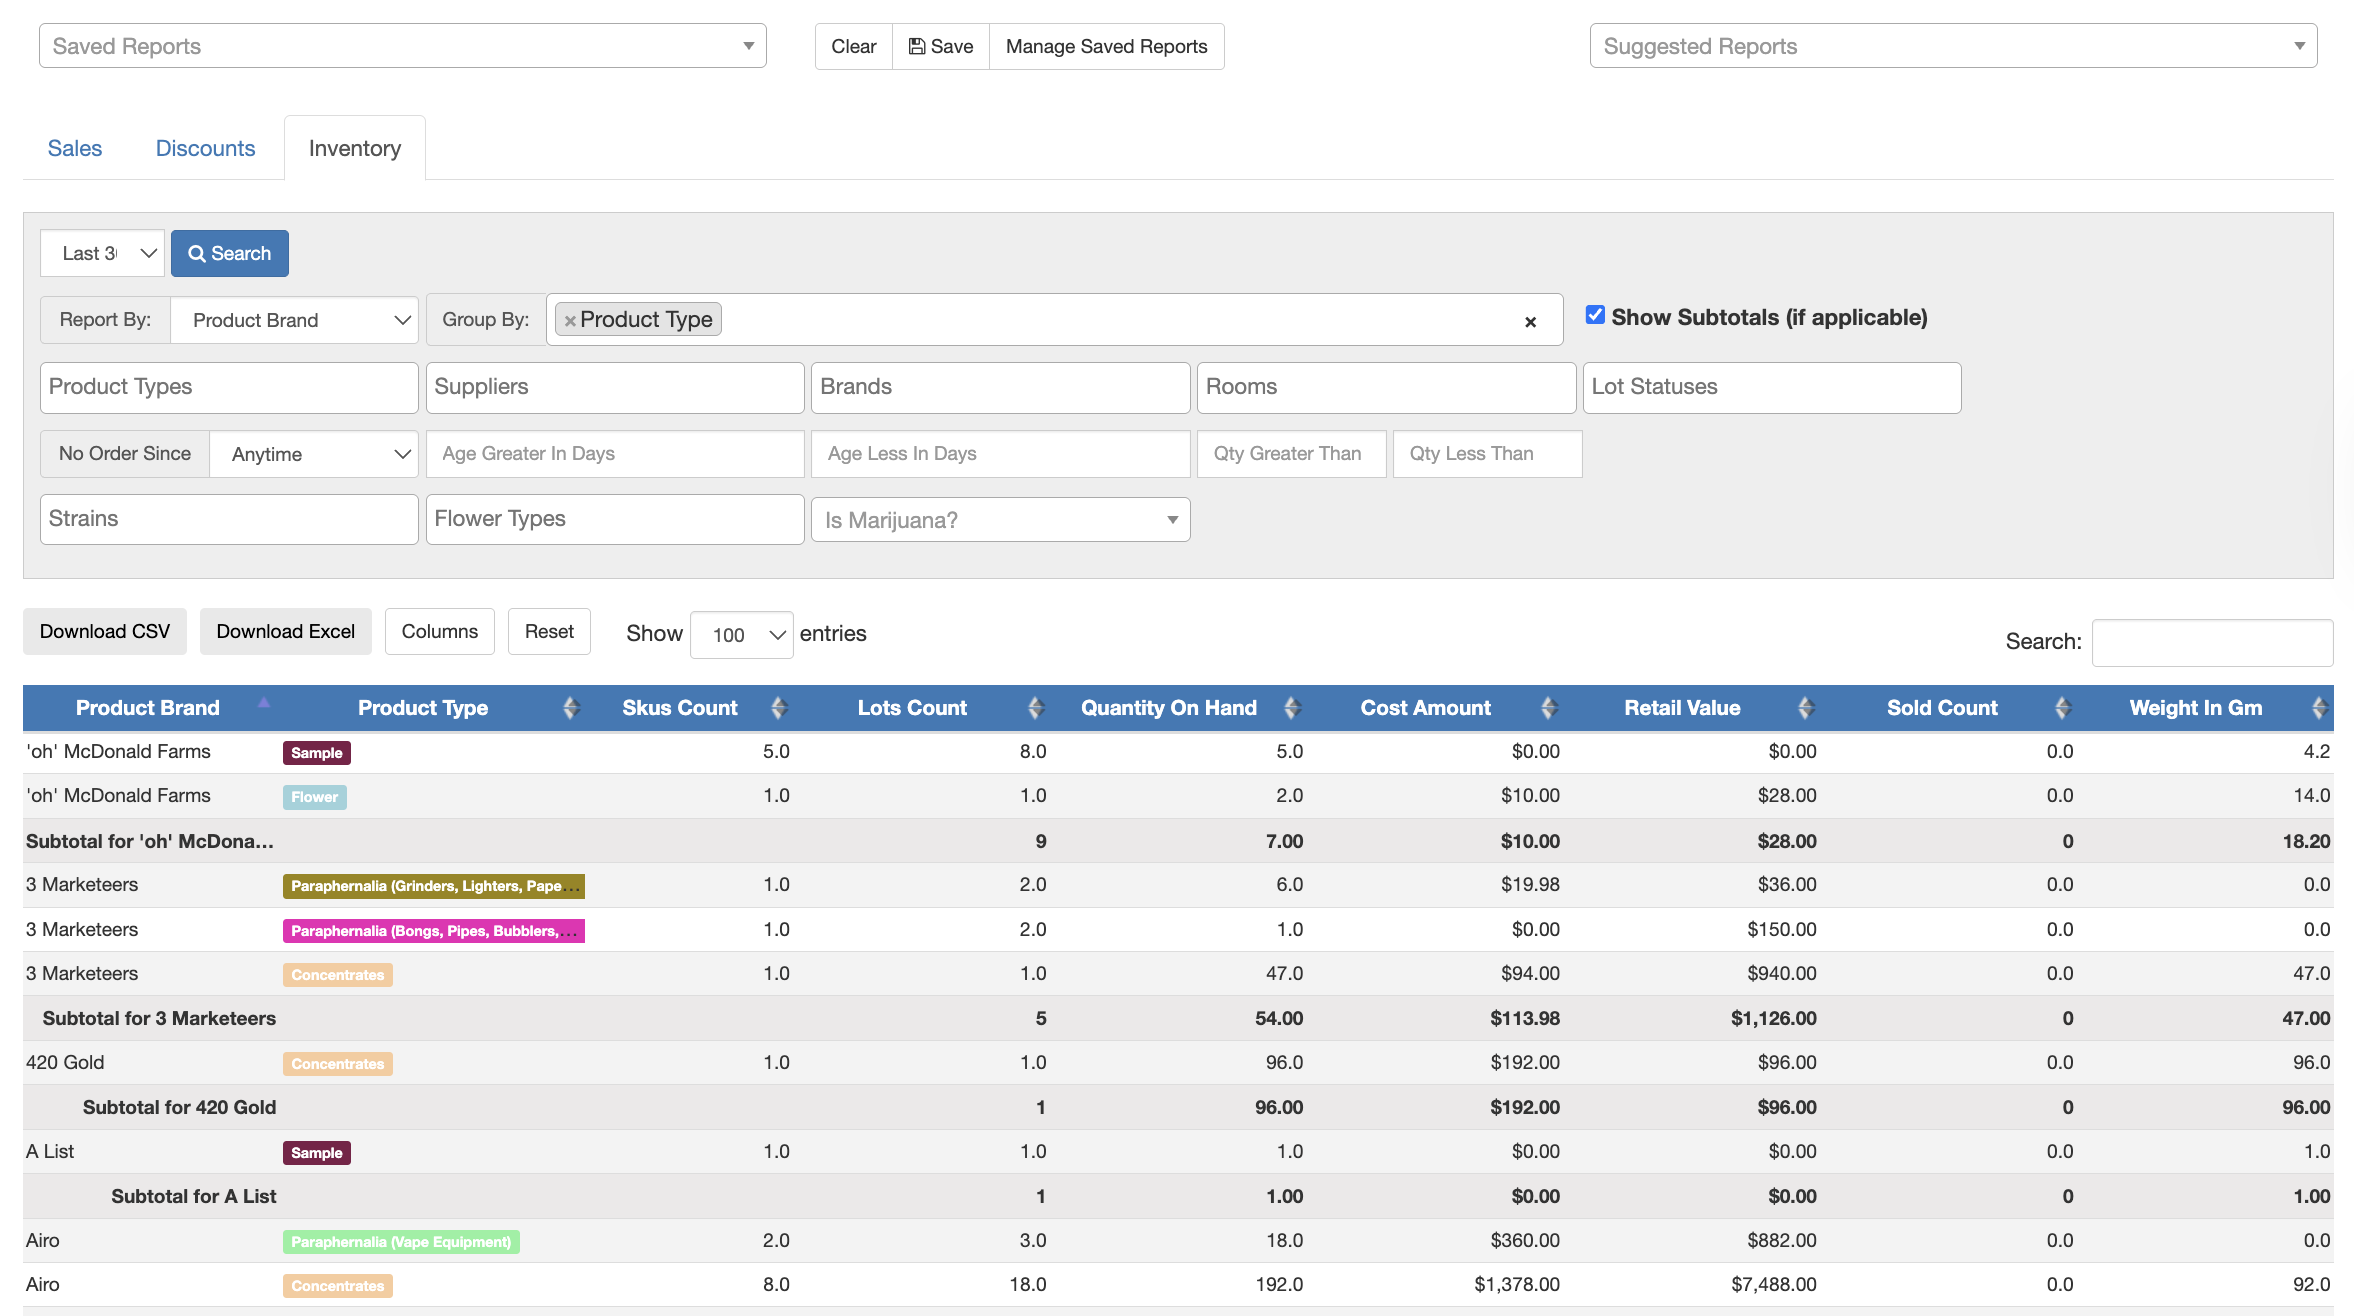
This is one example of hundreds of ways to customize a report. To break down the different customization options, see below:
Suggested Reports:
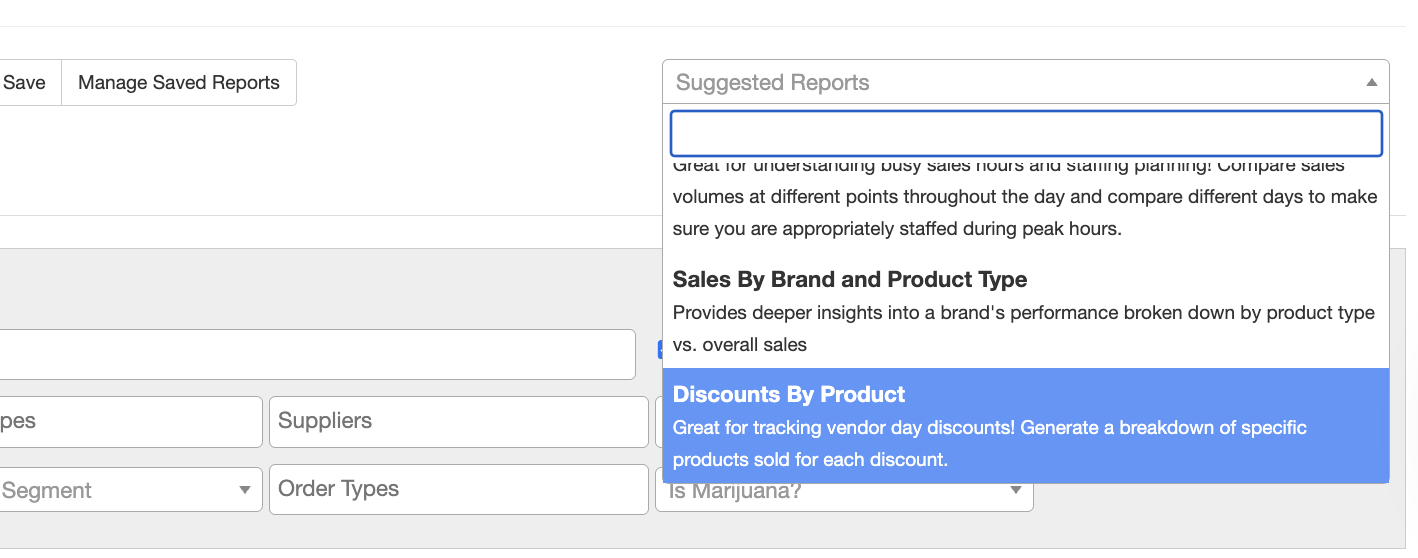
Under the Suggested Reports dropdown, users will have the ability to use one of POSaBIT's pre-built custom reports. These have been built based on some of the more commonly requested reports. This will show all types of custom reports, not only custom discount reports. The only current suggested discount report is the Discounts by Product.
To make your own custom reports, see the different customization options below:
Report By options AND Group By Options:
Age Group
Customer Profile
Customer Type
DOH Compliant (WA Only)
Discount Active
Discount Applies To
Diiscount Barcode
Discount Kind
Discount Link
Discount Manager
Discount Name
Discount Stacking
Discount Type
Employee
Flower Type
Gender
Is Marijuana
Lot Link
Lot Number
Order Date
Order Day of Week
Order Fraction of Day
Order Hour
Order Month
Order Origin
Order Source
Order Year
Payment Type
Product Brand
Product Family
Product Internal ID
Product Link
Product Name
Product Strain
Product Type
SKU Link
Supplier
Supplier Link
Terminal
To Cart
Venue Name
Additional Filter By Options:
- Terminals
- Employees
- Product Types
- Suppliers
- Brands
- Strains
- Flower Types
- Customer Segment
- Customer Types
- Is Marijuana? (Yes or No)
Saving Custom Discount Reports
If you are building a report you want to reuse, you can also save the report you built to make it easier in the future.
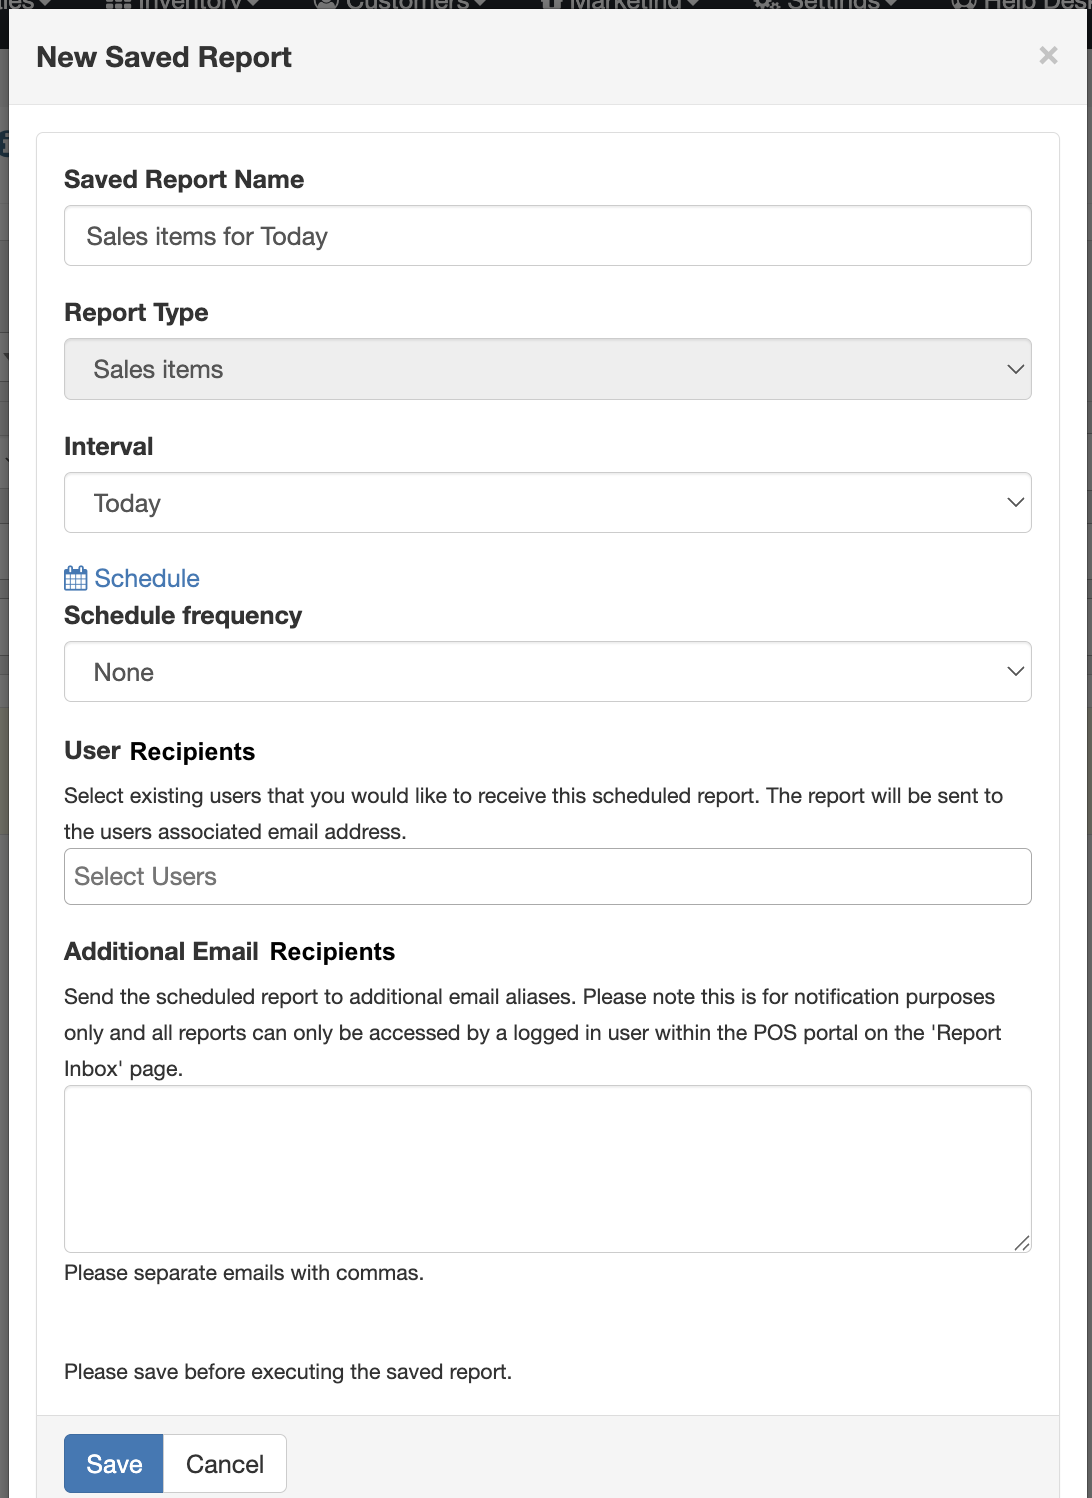
- Once you have your report built out to your liking, click the Save button at the top of the report.
- This will open a pop-up where you can customize the report name, interval, and you can even schedule the report to send to any existing user or email, with an option for scheduled frequency.
- Once you have filled out your ideal name, interval, and schedule, click Save to save it to your custom reports.
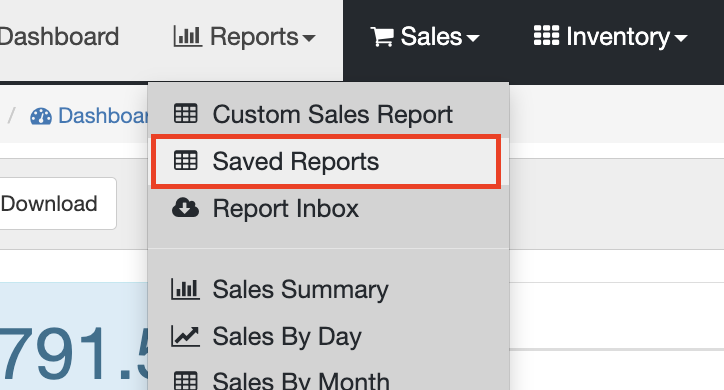
- To see all your saved reports, from the Custom Sales Report page, click Manage Saved Reports.

- You can also get to the saved reports by going to the Saved Reports page under the Reports tab.
- This will take you to a page with all your previously saved custom sales reports for easy access.

Report Inbox
There is also a way to view all previously sent scheduled reports by going to the Report Inbox page under the Reports tab. On this page, you will have access to all your scheduled reports that have been sent out. Click the blue Download button to get a downloaded copy.
