How to Set up Scheduled Reports

POSaBIT can automatically email reports to the people who need them, on a schedule you choose. You can schedule any saved custom report, plus Dashboard and Inventory Reorder reports. Every report that gets sent is also kept in your Report Inbox.
Ways to Schedule a Custom Report
There are three ways to set up a scheduled custom report. All three end in the same Save pop-up, where you name the report, set its interval, and choose who receives it and how often.
Option 1: From the Custom Reports Page
- In the POS portal, go to Reports → Custom Reports.
- Build your report by choosing what to Report By and Group By, plus any filters, subtotals, and date range. You can also start from one of POSaBIT's pre-built reports under the Suggested Reports dropdown.
- Click the Save button at the top of the report.
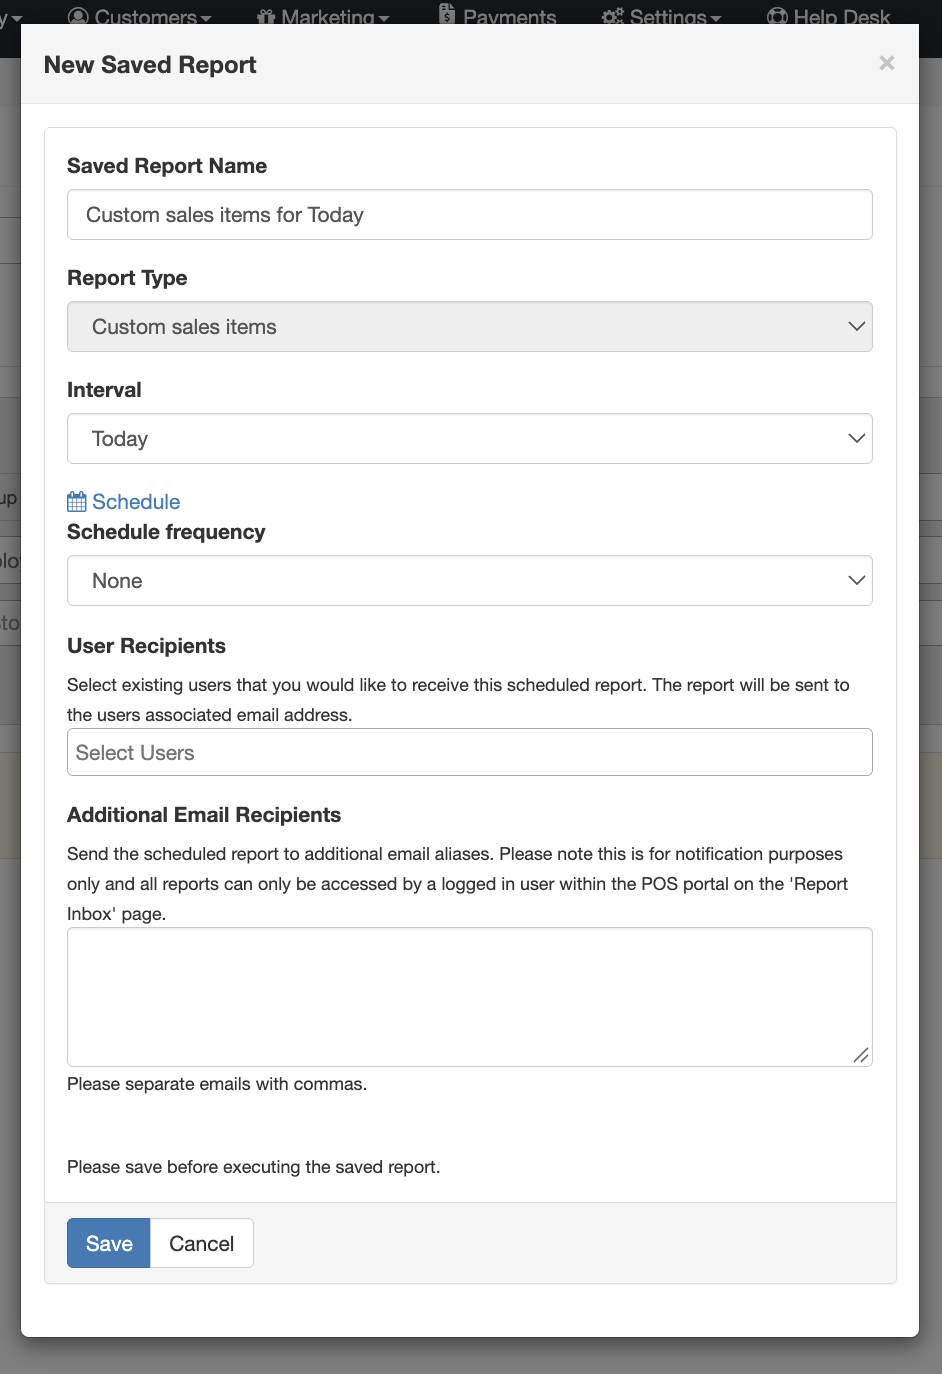
- In the pop-up, enter a report name and select the interval.
- To schedule the report, click the Schedule button. Then, choose a frequency and add the users or email addresses that should receive it.
- Click Save. The report is now saved and will send automatically on the schedule you set.
Option 2: From a Pre-Set Report (Using Customize)
Many of the standard sales reports can be turned into a saved, scheduled report:
- Sales by Product
- Sales by Product Type
- Sales by Product Brand
- Sales by Supplier
- Sales by Product Tag
- Sales Profits
- Sales by Employee
For example, from the Sales by Product Brand report:
- Go to Reports → Sales by Product Brand.
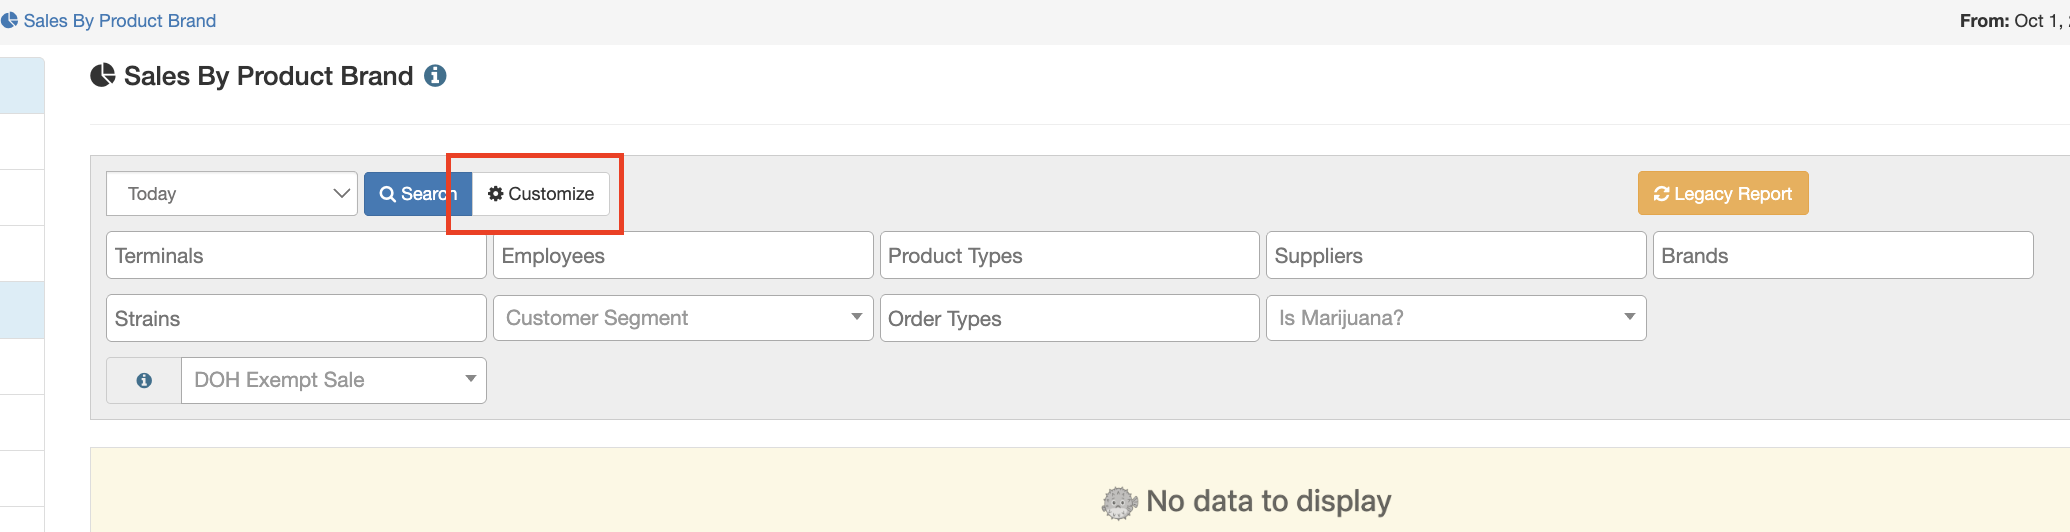
- Click the Customize button next to the search bar. This opens the Custom Sales Report page with your report's settings already filled in.
- Make any additional changes you'd like to the report.
- Click Save at the top of the report.
- In the pop-up, enter a report name and select the interval.
- Add the users or email addresses that should receive it and choose a frequency.
- Click Save.
Option 3: From the Saved Reports Page
Use this option to add a schedule to a report you've already saved, or to change an existing schedule.
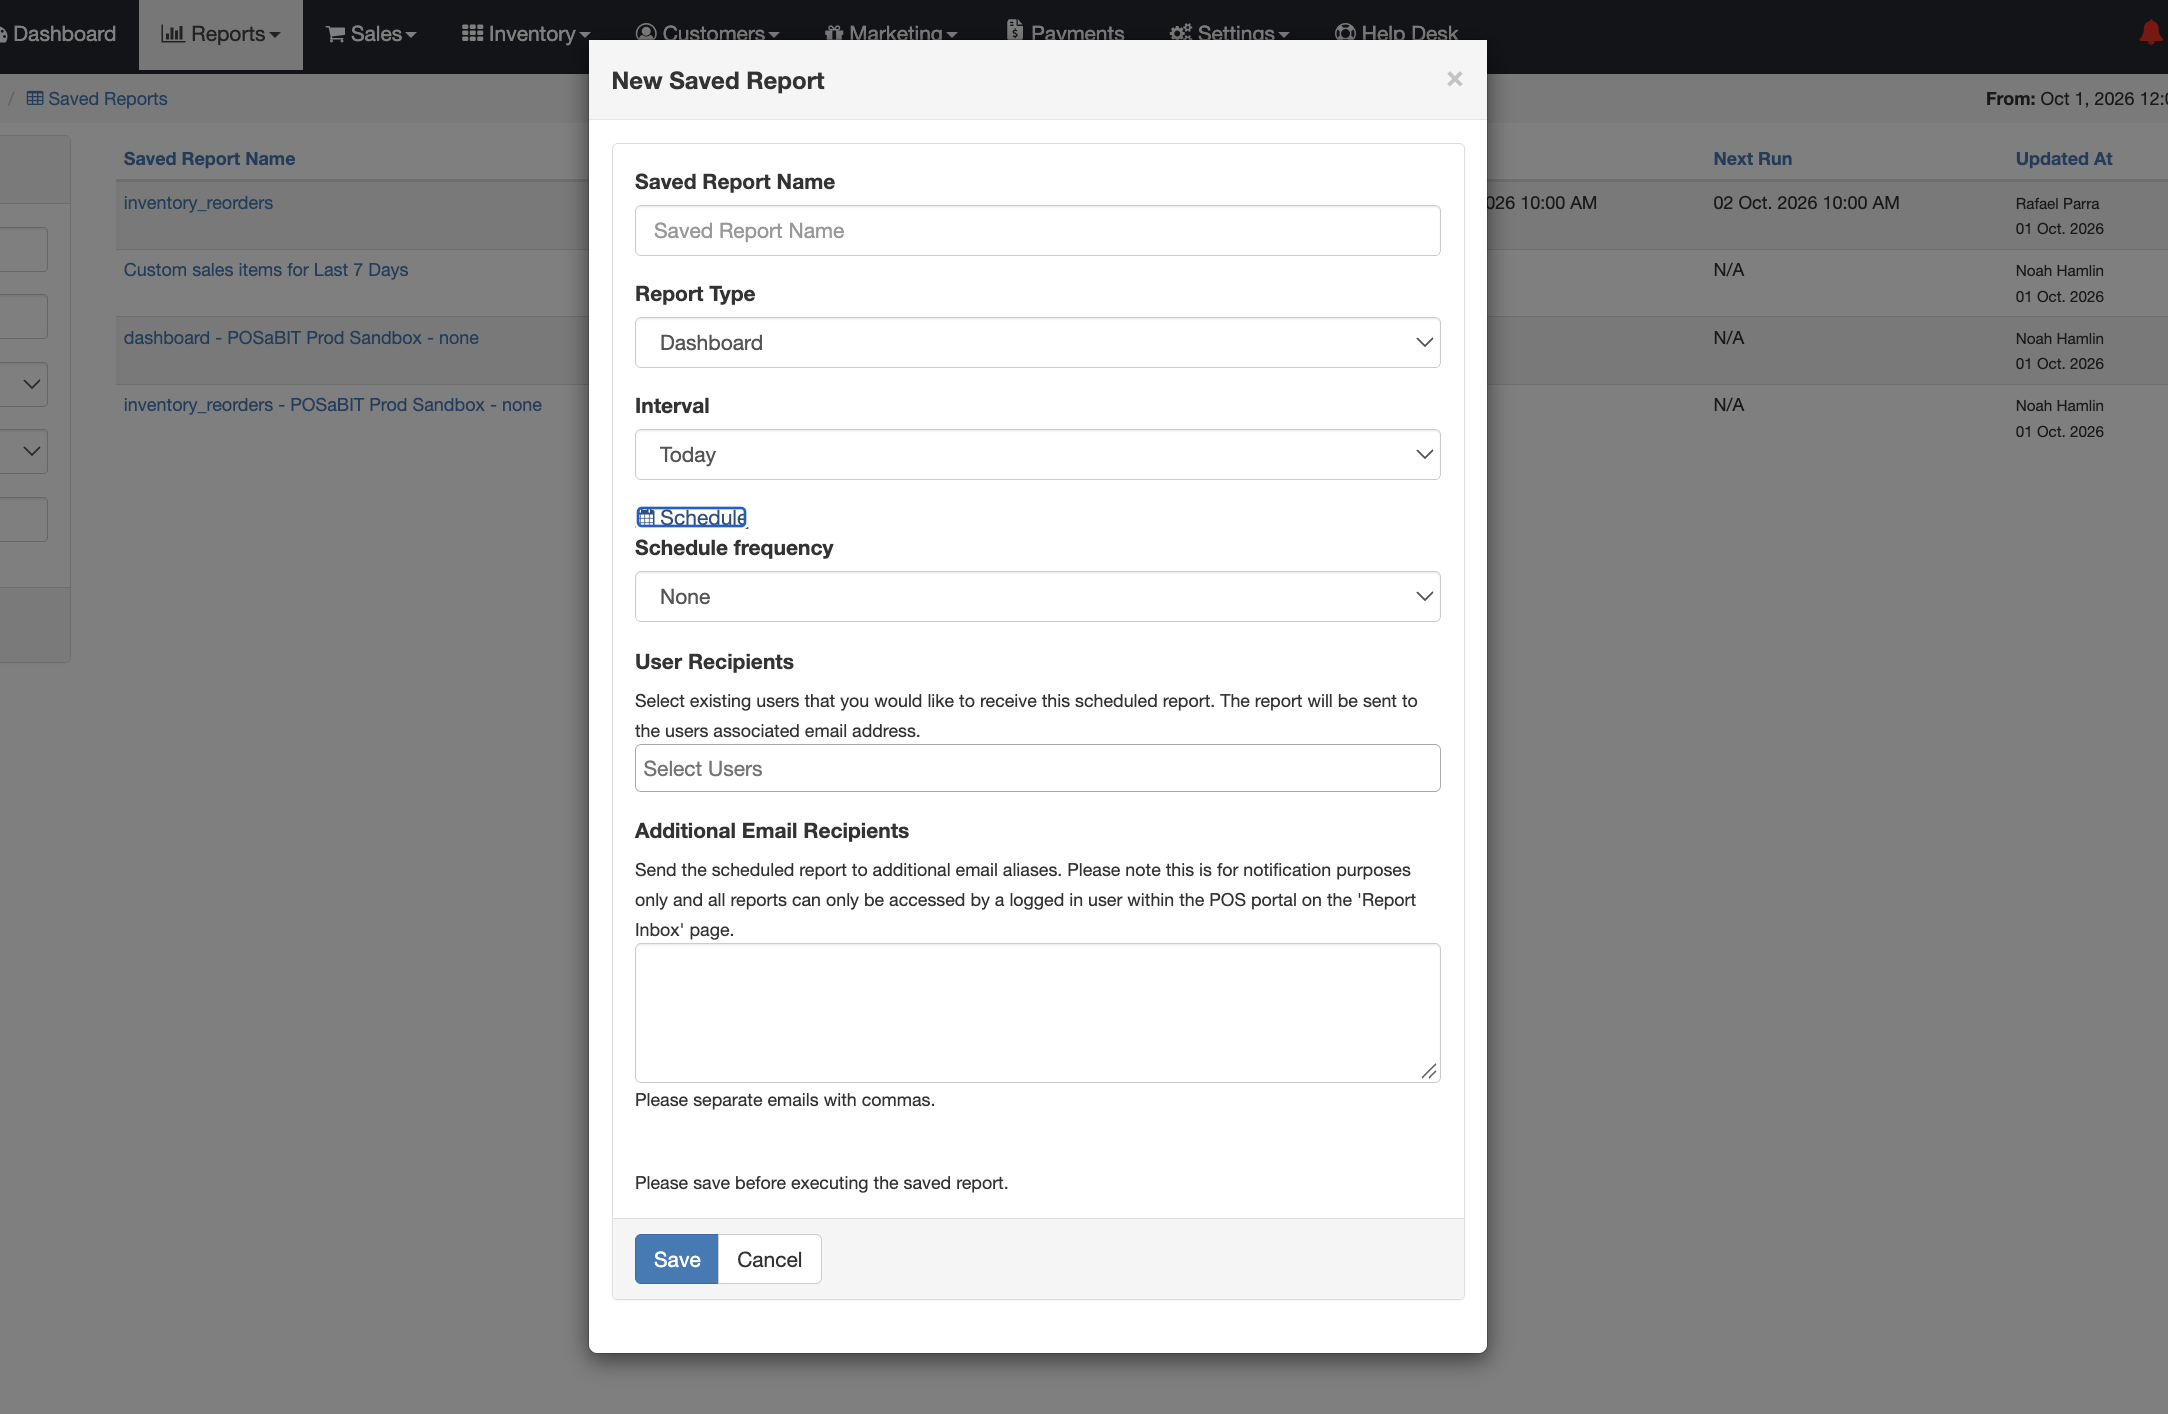
- Go to Reports → Saved Reports. You can also click Manage Saved Reports from the Custom Sales Report page.
- Find the report you want to schedule.
- Click the green Edit button on the right side of that report's row.
- Add or update the users or email addresses that should receive the report, and choose a frequency.
- Click Save.

Viewing Past Reports in the Report Inbox
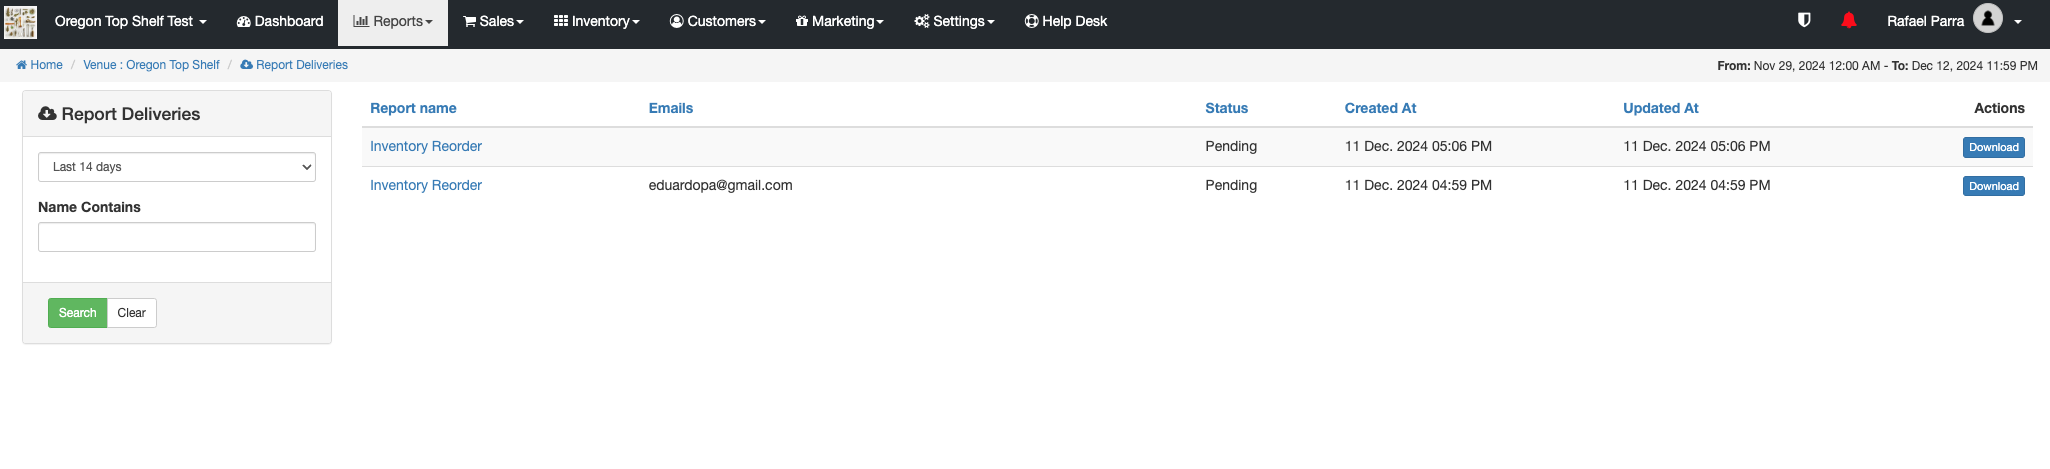
Go to Reports → Report Inbox to see every scheduled report that has been sent. Click the blue Download button to get a copy of any of them.