Merchant Employee Management Overview

Employee management can be incredibly time consuming for your management team, especially for multi-location merchants. In order to make employee management as simple as possible, POSaBIT allows you to create and manage all employee across all your stores in one place. Additionally, these merchant wide employee profiles can be given merchant level access to view company wide data across all venues within the POSaBIT merchant portal. This article will walk you through how to create a new employee profile that can be assigned to a specific location or multiple locations instantly, as well as how to assign and manage the permission levels for each profile.
Creating a New Merchant Employee
Follow the steps below to create a New Merchant Employee:
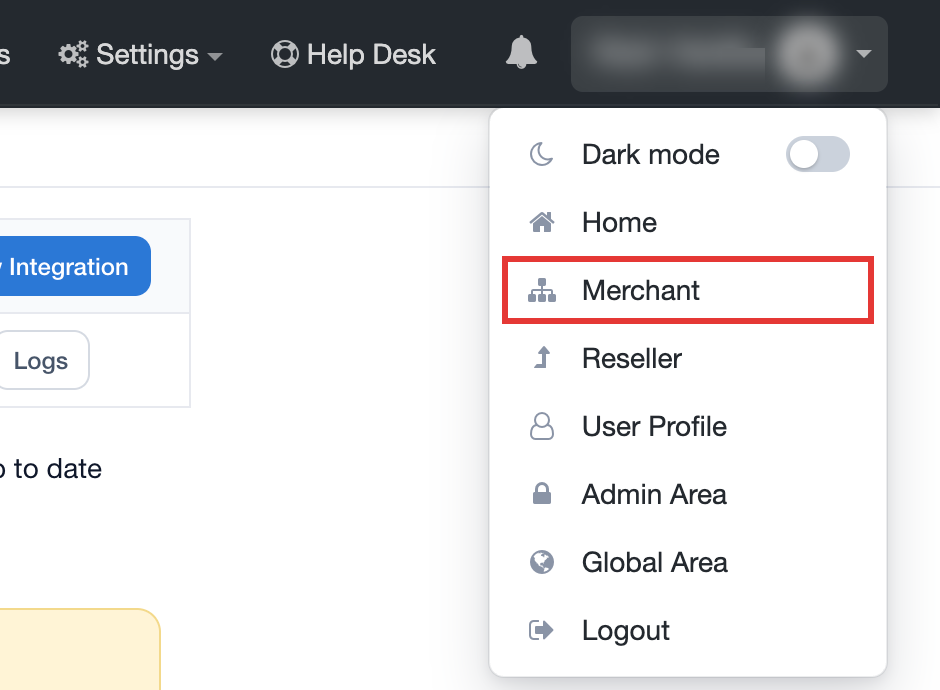
- Go to Merchant view by clicking the drop-down menu on the top right of the portal and selecting Merchant
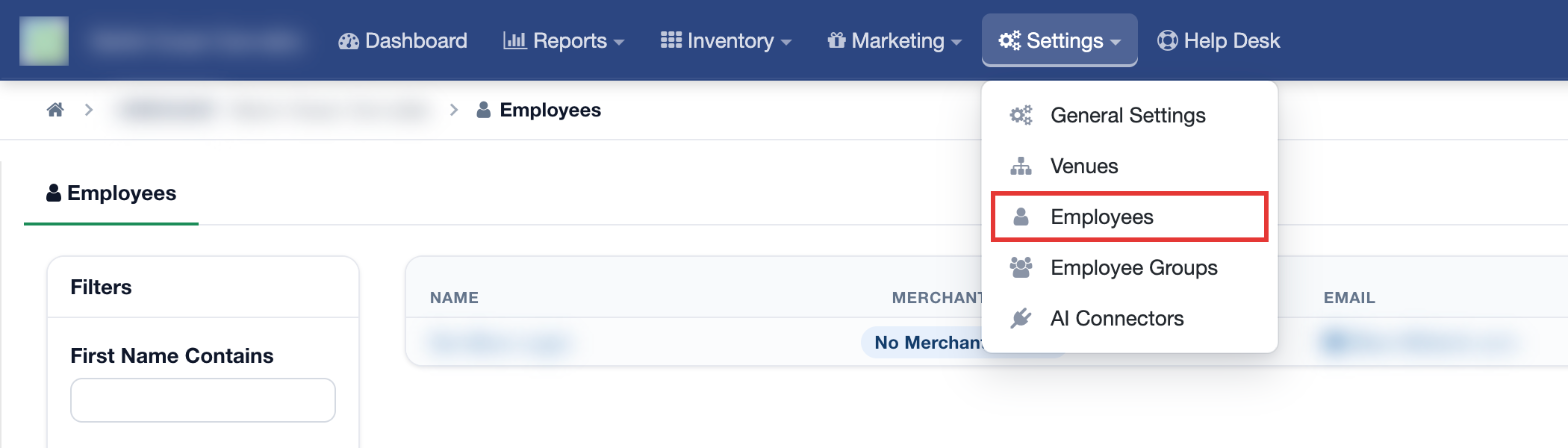
- From the Merchant portal page, click on the Settings drop-down menu, and select Employees
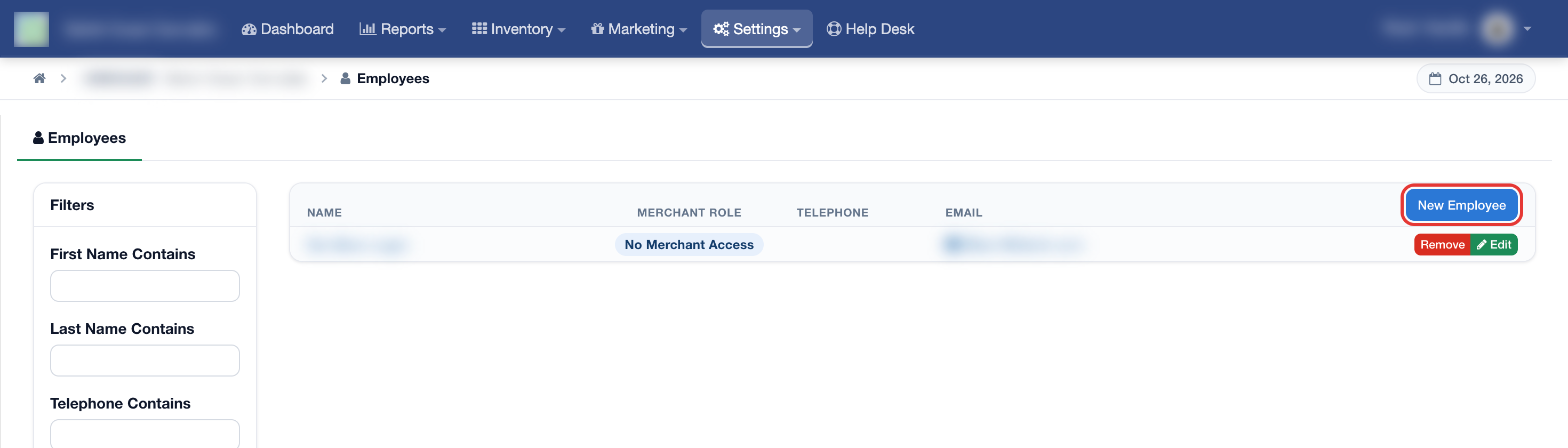
- From the Employees page, click the blue New Employee button
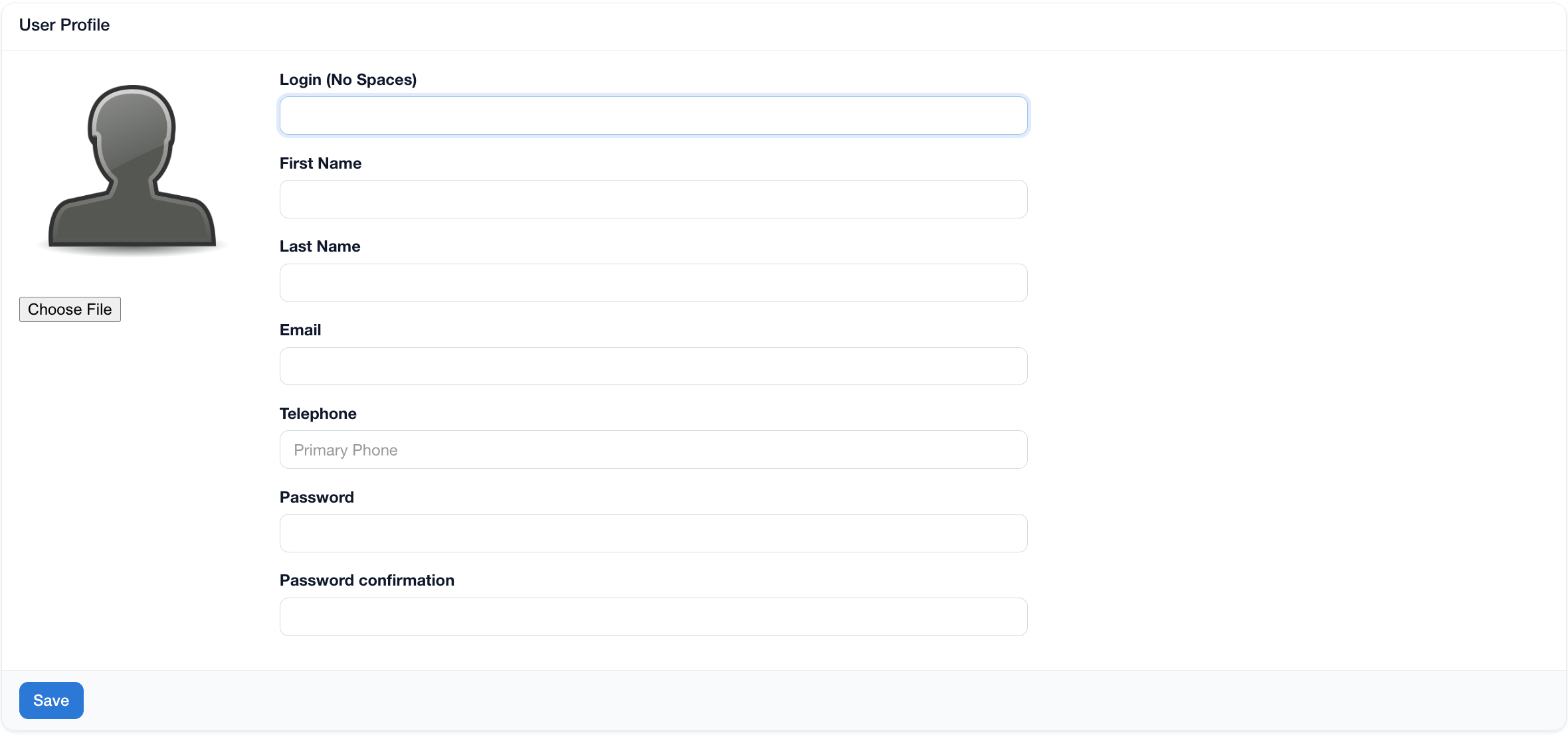
- Next, create a User Profile for the new employee by filling out the required information (Login, First Name, Last Name, Email, Telephone, Password and Password confirmation). Click Save when finished
- The New Employee should now be created and will appear in the Employees list
Adding Employee to Specific Venue
- Go to Merchant view by clicking the drop-down menu on the top right of the portal
- Select Settings, then click Employees
- From the Employees page, click on the name of the Employee you’d like to add a venue to
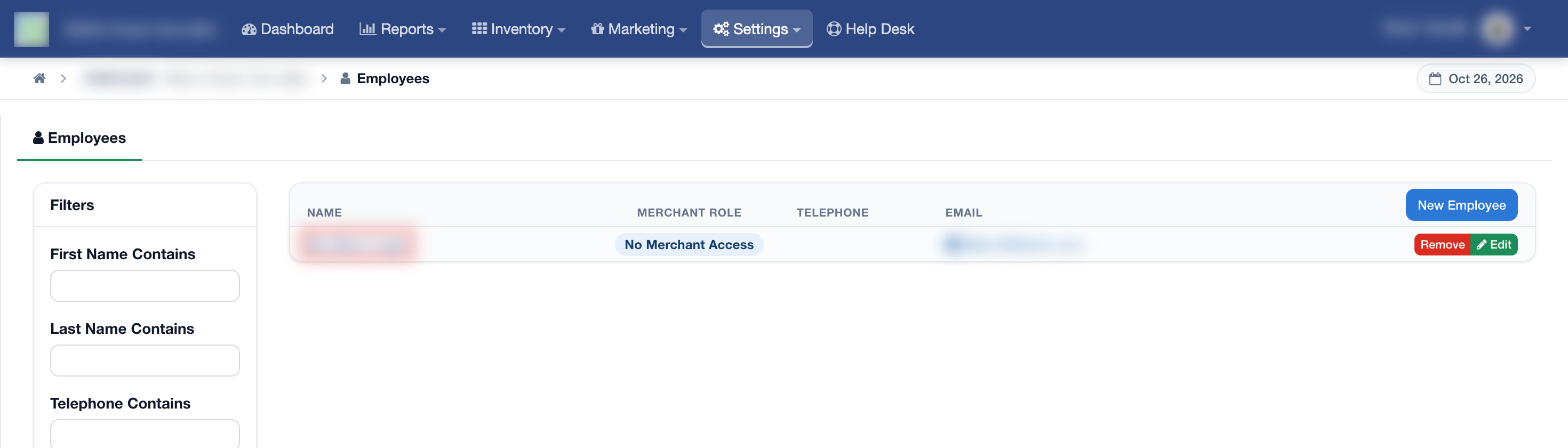
- In the New Venue Access box, select what Venue you’d like the Employee to be associated with. Only venues the employee is not already assigned to are listed; if the employee already has access to every venue, this box will not appear.
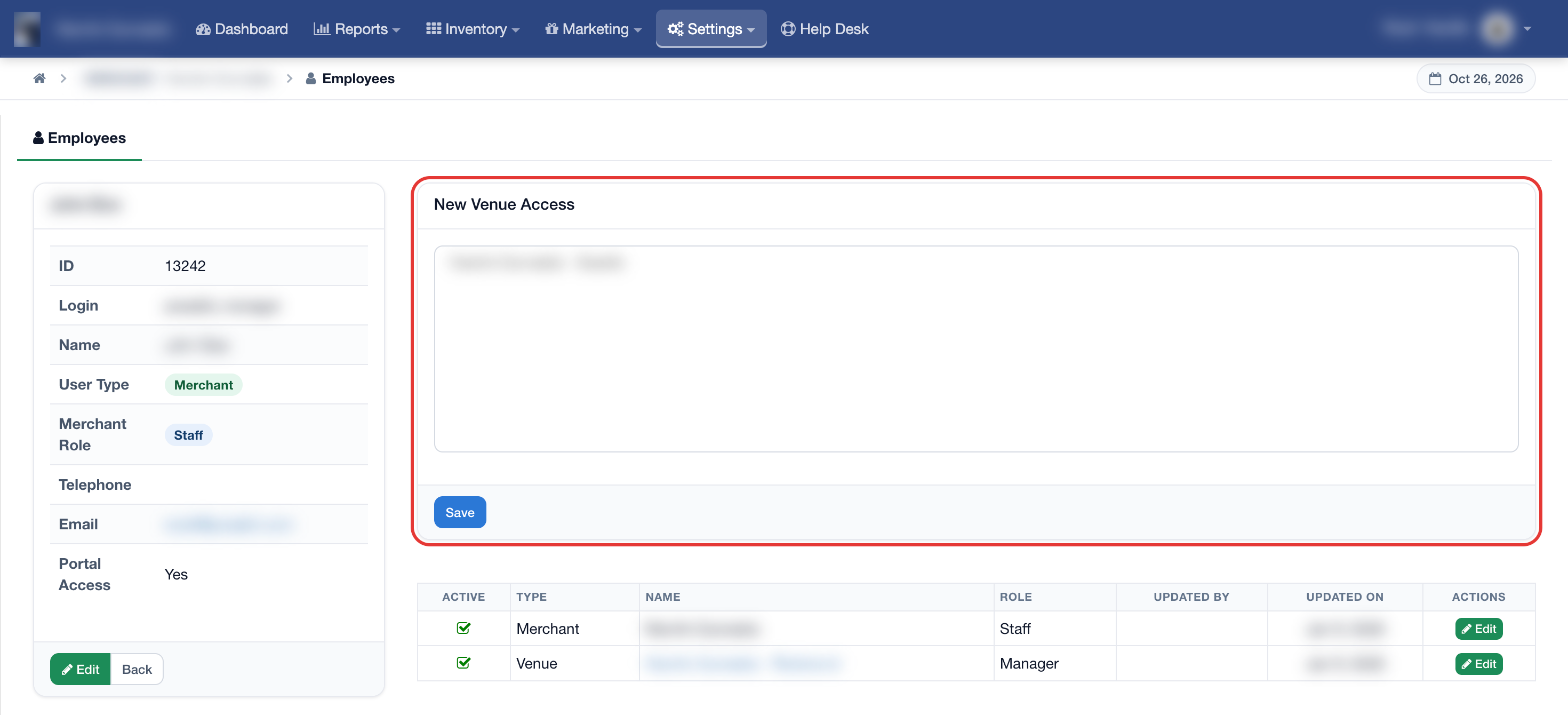
- Once selected, click the blue Save button. The venue will be added to the table of Merchant and Venue access below.
- To Add another Venue repeat steps 4 and 5
Assigning Merchant Role for the Employee
Follow the steps below to change the Access Level of Merchant Employees:
- Go to Merchant view by clicking the drop-down menu on the top right of the portal
- From the Merchant portal page, click on the Settings drop-down menu, and select Employees
- From the Employees page, click on the employee’s name you’d like to change role for
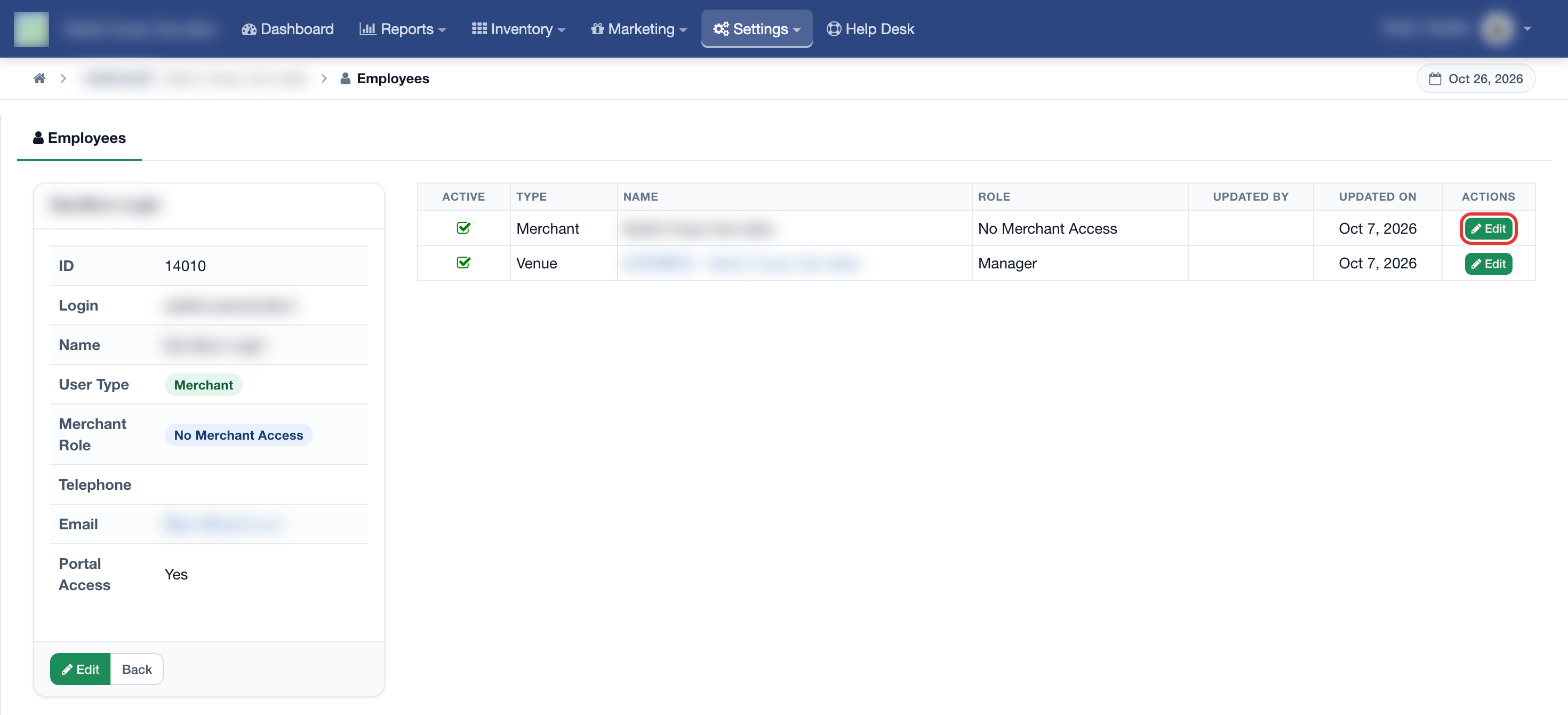
- Next, click on the green Edit button under Actions on the Merchant row
- Pick the Access Level of the Employee, add a Pin if needed, and click Save
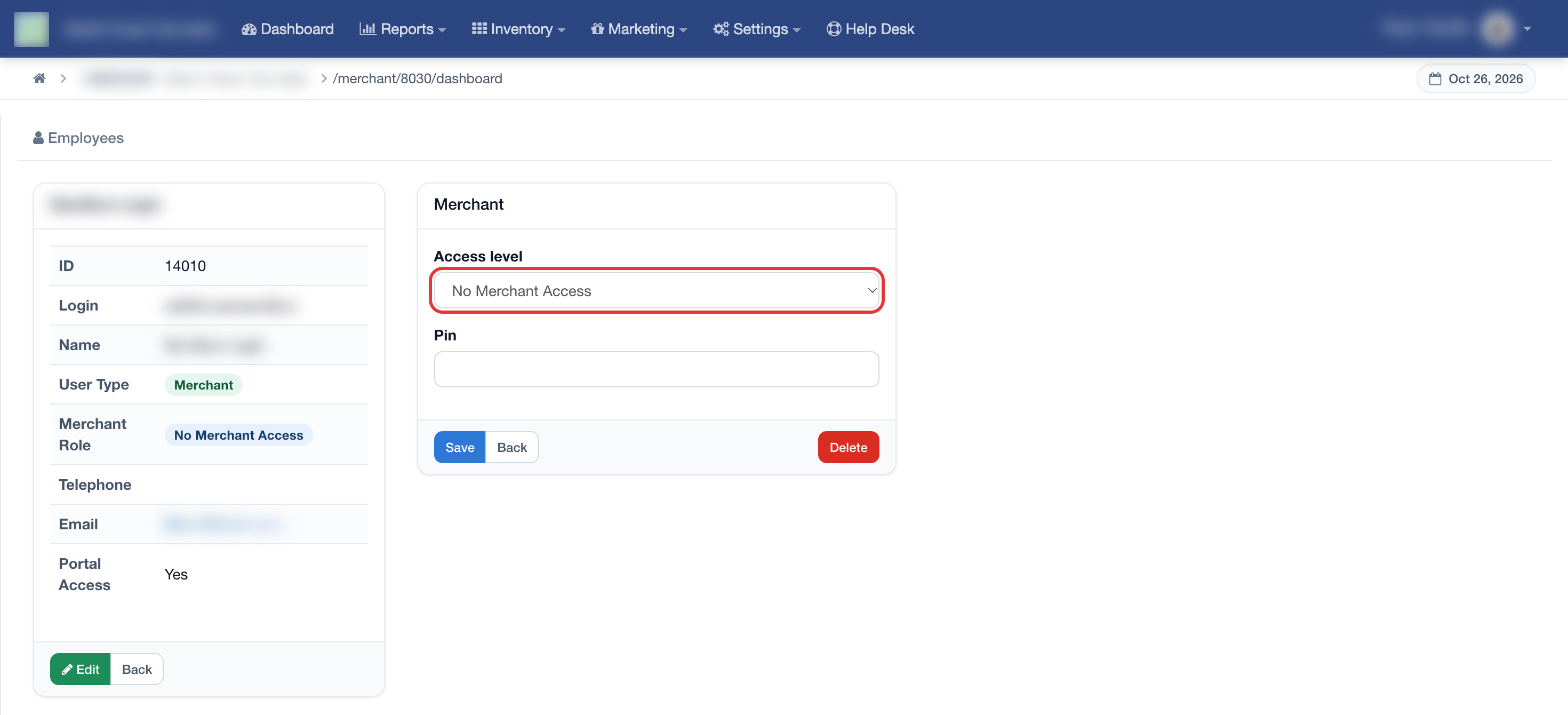
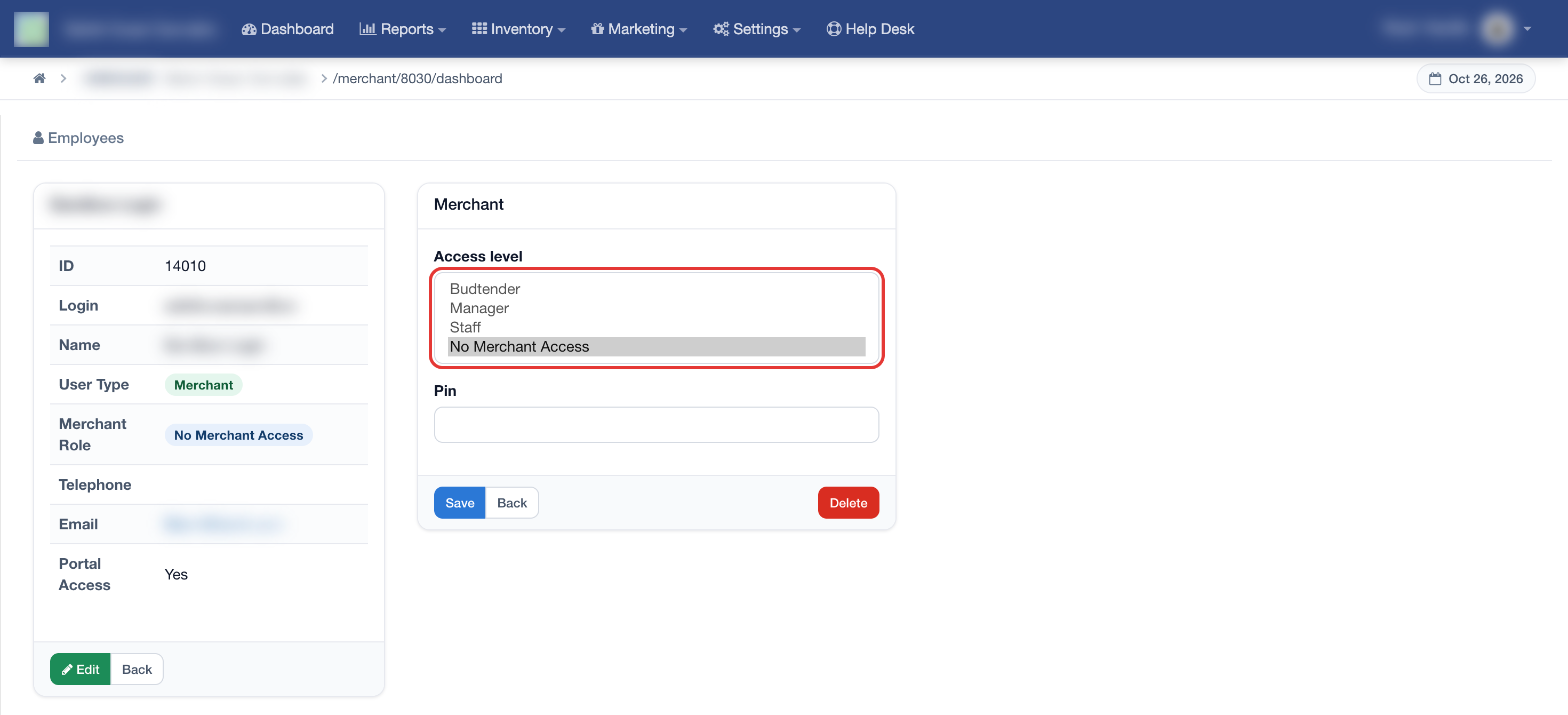
- Access Levels Explained:
Manager
Placed in the Managers employee group automatically: Read and Manage access to every Merchant Portal page, across all venues.Staff
Placed in the Staff employee group automatically: read-only access to the Merchant Portal, with no Manage access.Budtender
Placed in the Staff employee group automatically: read-only access to the Merchant Portal, with no Manage access.No Merchant Access
No access to the Merchant Portal.
Changing an employee's Access Level moves them to the matching built-in group (Managers or Staff). Any custom groups they belong to are kept. To give an employee different access than the built-in groups allow, add them to a custom employee group. Merchant employee groups can be found under Settings → Employee Groups in the Merchant portal. See Merchant Portal Employee Groups Overview.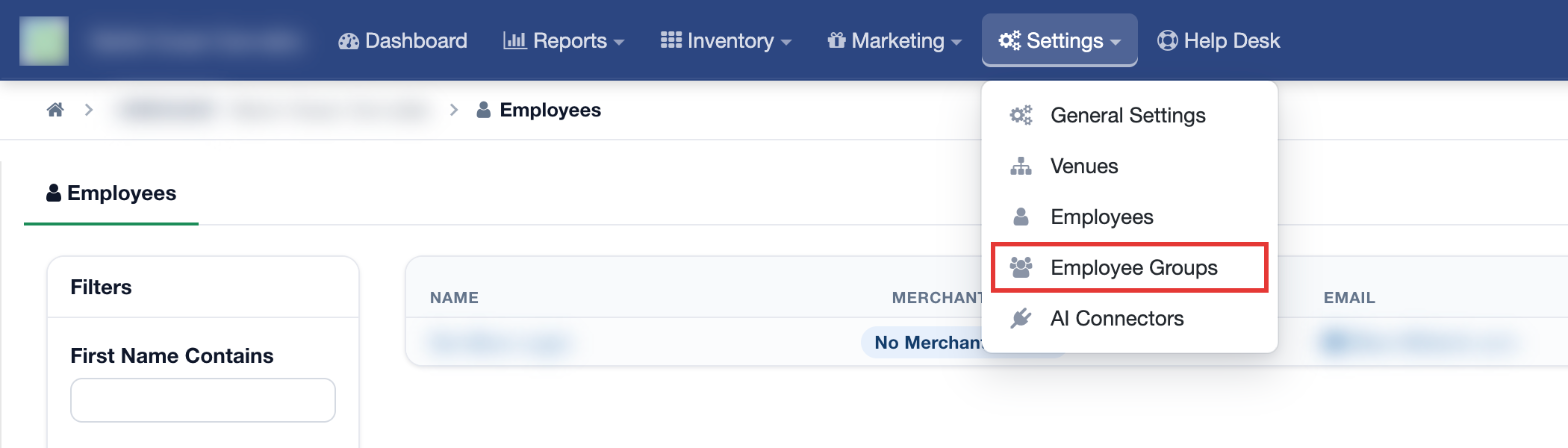
- Access Levels Explained:
Once you have assigned employees to different venues, you will need to assign the employees to venue Employee Groups, which control their access at each store. Click HERE to see how to assign venue employee groups. To control what employees can see and do in the Merchant Portal, see Merchant Portal Employee Groups Overview.
For additional assistance, please reach out to POSaBIT support @ 1 (855) POSaBIT OR SUPPORT@POSaBIT.COM