Odoo for POSaBIT Pay - Delivery and Checkout Module Installation and Setup
Get the App From the Odoo App Store
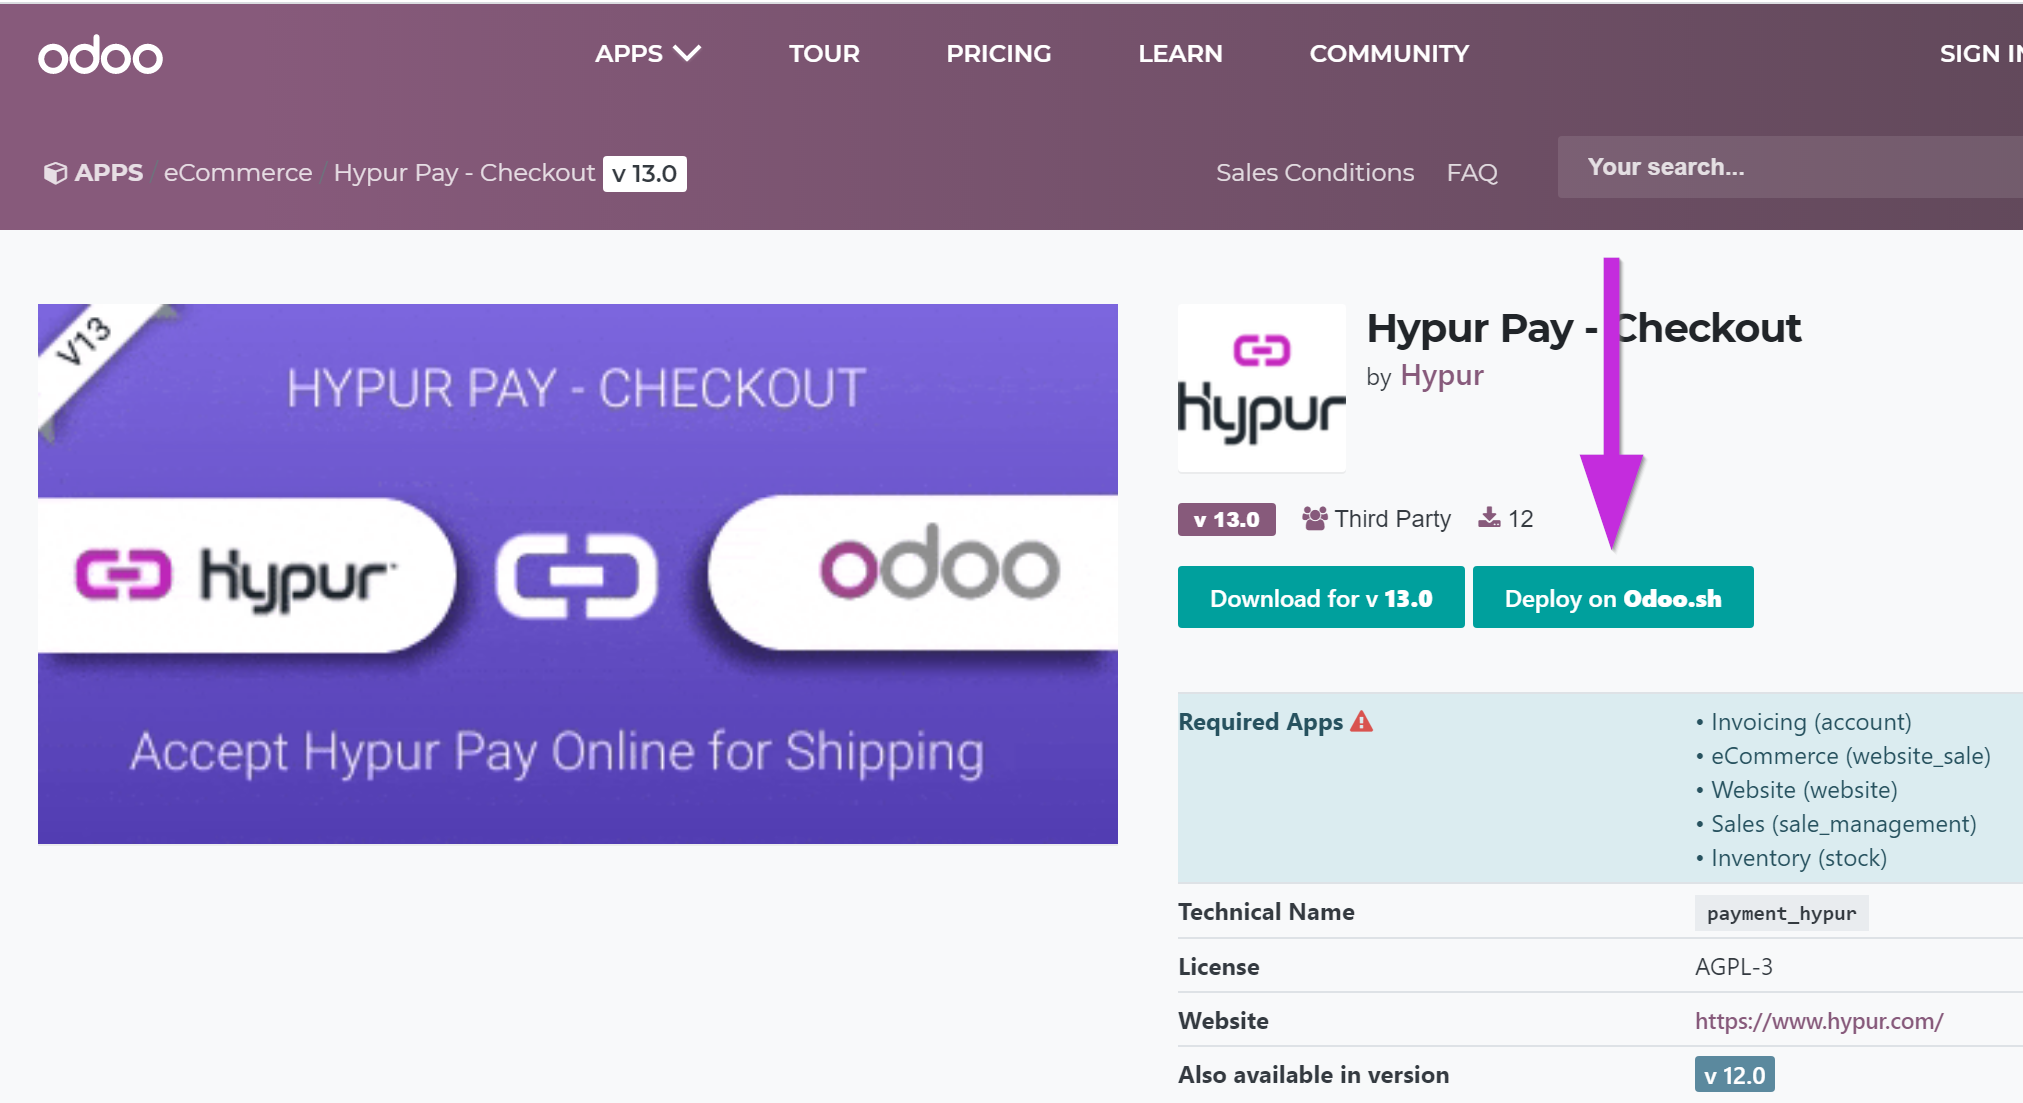
- Find the POSaBIT Pay - Checkout app on the Odoo App Store.
- Click the Deploy on Odoo.sh button.

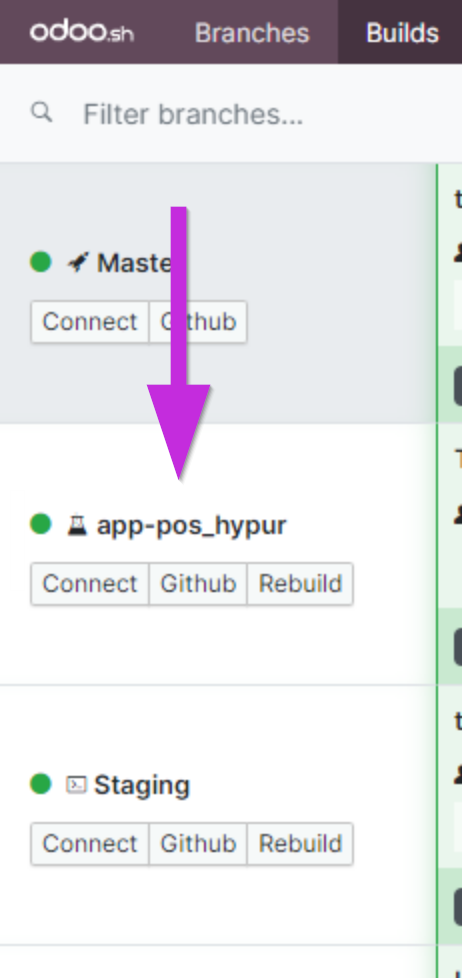
- Click Open on your Odoo.sh project to install the POSaBIT Pay app.

- A new branch containing the POSaBIT code will be created after you connect the POSaBIT app to your Odoo.sh project.

Delivery and Checkout Module Installation
- Navigate to the Odoo Home Screen.
- Select Apps.
- Type Module into the search bar in the upper right corner.
- Click Enter or Return on your keyboard to search.
- Click Install to install the POSaBIT Pay - Checkout module. Do not select the POSaBIT module.
Delivery and Checkout Module Setup
- Login to your secure.posabit.com.
- Click on Tools and select POSaBIT Pay Connections.
- Click the Setup button for Odoo for POSaBIT Pay – Delivery/Checkout. Do not select Odoo for POSaBIT Pay - POS.
- Click the Generate API Keys button. Your API Key, Client ID, and Client Secret will be generated when you click the Generate API Key button. You will be asked for your API Key, Client ID, and Client Secret when you setup the module.
- Enter the checkout URL for your online store. The checkout URL is the page your customers use to enter billing details.
- Click Submit.
- A success confirmation will be displayed.
- Navigate to the Odoo Home Screen.
- Select Website.
- Select Configuration.
- Select Payment Acquirers.
- Click on Activate for POSaBIT Pay on the list of payment acquirers.
- Change the status to Enabled.
- Select the Company.
- Select the Website.
- Copy the API Key from the POSaBIT Connection Odoo for HyPOSaBITpur Pay – Delivery/Checkout page.
- Paste the API key in the Merchant Token field.
- Copy the Client ID from the POSaBIT Connection Odoo for POSaBIT Pay – Delivery/Checkout page.
- Paste the Client ID in the Client ID field.
- Copy the Client Secret from the POSaBIT Connection Odoo for POSaBIT Pay – Delivery/Checkout page.
- Paste the Client Secret in the Client Secret field.
- Click Save.
Note: Select another company from the Company drop-down in the navigation menu to setup additional companies.
