Accepting an Incoming Manifest (New Mexico)

New Mexico retailers receive inventory through the New Mexico Seed-to-Sale system (NMS2S). Transfers are accepted in NMS2S first, then pulled into POSaBIT with the Sync button on the Incoming Manifests page.
Step 1: Accept the Transfer in NMS2S
- Log in to your NMS2S account and open your incoming transfers
- Accept the transfer you are bringing into inventory
For help with NMS2S itself, see the state's NMS2S How-To Videos or this NMS2S walkthrough video.
Step 2: Move the Inventory to the Sales Floor Room in NMS2S
- In NMS2S, move the accepted packages into the Sales Floor room
Important: POSaBIT only pulls in packages that are in the Sales Floor room in NMS2S. Packages left in any other room will not appear in POSaBIT when you sync.
Step 3: Sync the Manifest into POSaBIT
- Log in to the POSaBIT web portal
- From the top navigation bar, click Inventory > Incoming Manifests
- Click the blue Sync button at the top of the page. A Sync Done! message appears when the sync finishes.
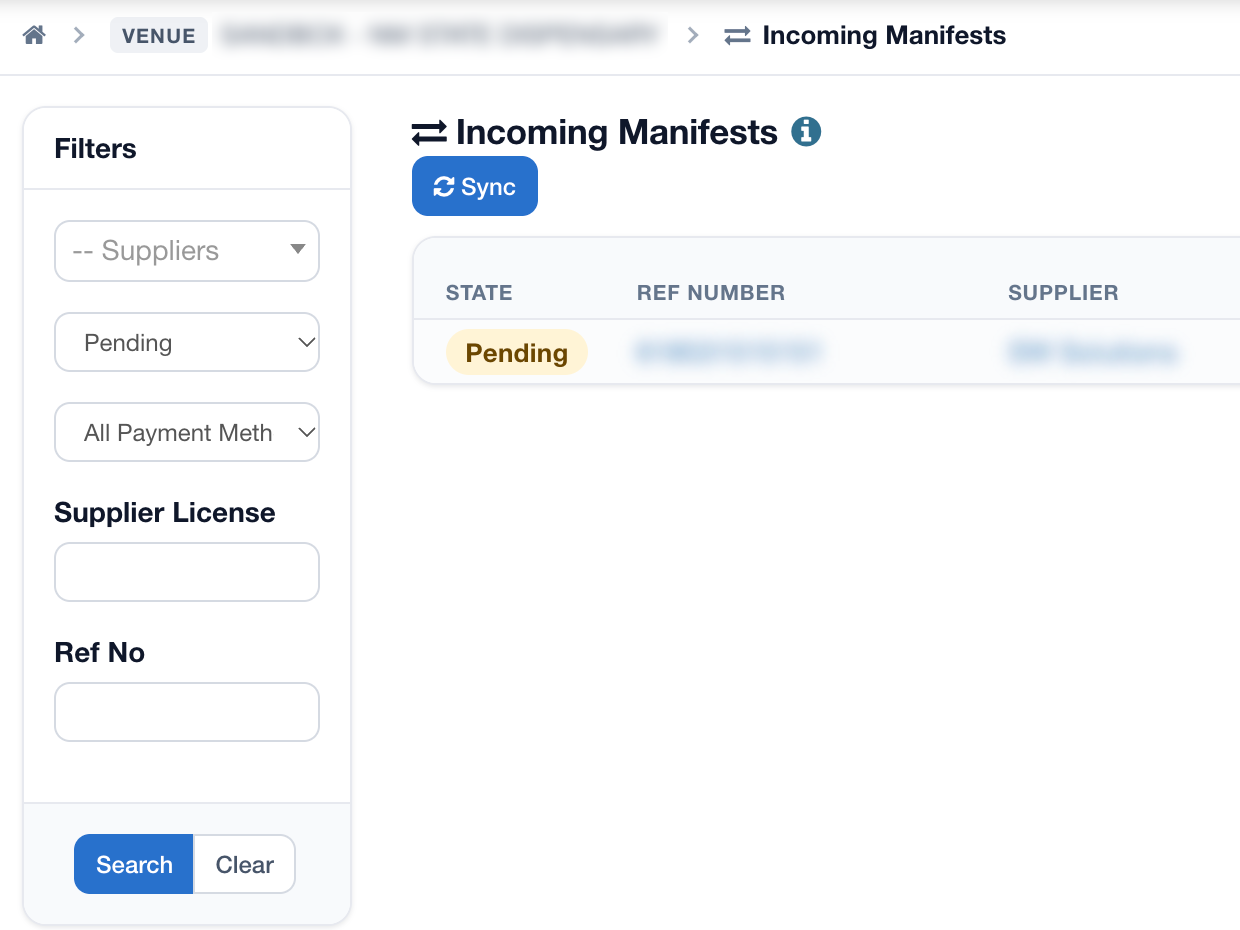
POSaBIT adds any packages that are not already in your inventory to a new Pending manifest. The Supplier on this manifest is blank, because NMS2S does not provide supplier information.
Step 4: Assign Packages to Products
- Click Show next to the new pending manifest
- For each package, search for and select the matching Product, or click the orange + to add a new product
- Enter the Price $ you will sell the item for and the wholesale Cost Per $
- Confirm the Barcode and select a Room, then click the green Save button on the package form
These fields work the same way as in other states. For a detailed walkthrough of the package form, see Accepting an Incoming Manifest (Metrc), Step 3.
Step 5: Accept the Manifest
Once every package is saved, check the Cost and Quantity at the top of the manifest, then click the green Accept button.
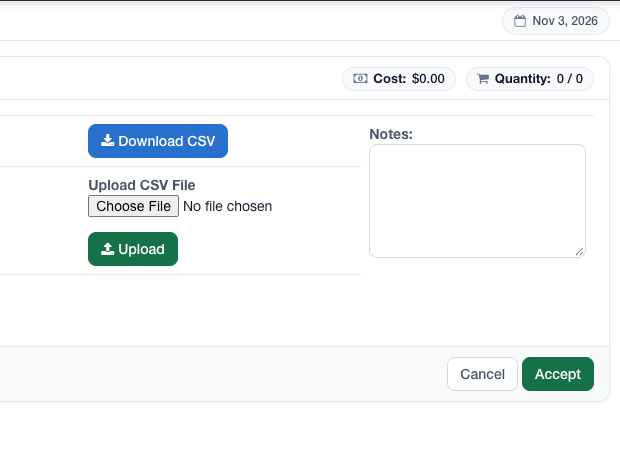
Once the manifest has been accepted, the header at the top of the manifest turns green and shows the date, time, and employee that accepted it.
Troubleshooting
I clicked Sync but no new manifest appeared.
Check in NMS2S that the transfer was accepted and that the packages are in the Sales Floor room, then click Sync again.
Packages from more than one supplier ended up on the same manifest.
This happens when several transfers are accepted in NMS2S before syncing. Accept the manifest as usual. Going forward, accept and sync one transfer at a time.
For additional assistance please reach out to POSaBIT support @ 1 (855) POSaBIT OR SUPPORT@POSaBIT.COM