How to Install the Zebra Printer Driver on your PC so you can Print Barcodes from the POS Portal

Note: Google Chrome is acceptable to use with Zebra Print, NOT Safari.
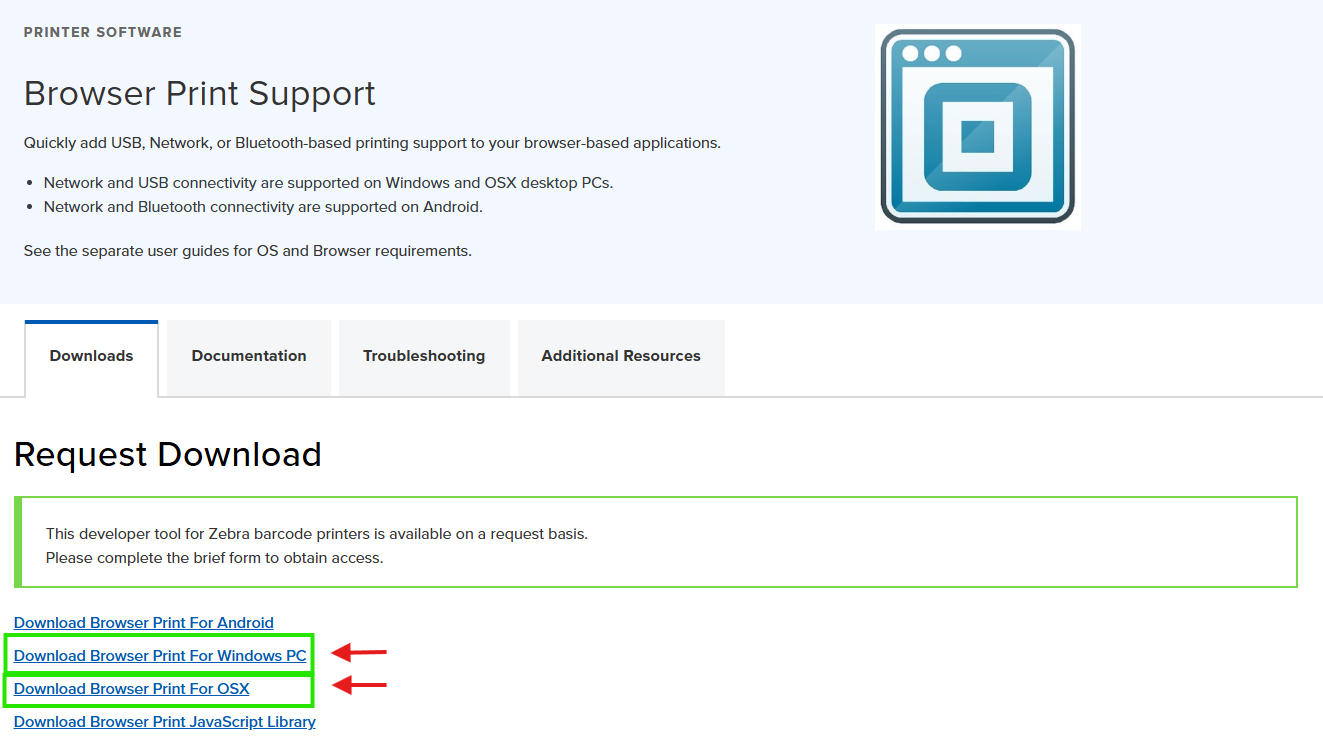
Download and Install the Zebra Browser Print
- To find the SDK, start by going HERE
Notice: The Zebra site wont work if you have a VPN active
- Choose the blue hyperlink reading associated with your device (Windows vs OS)
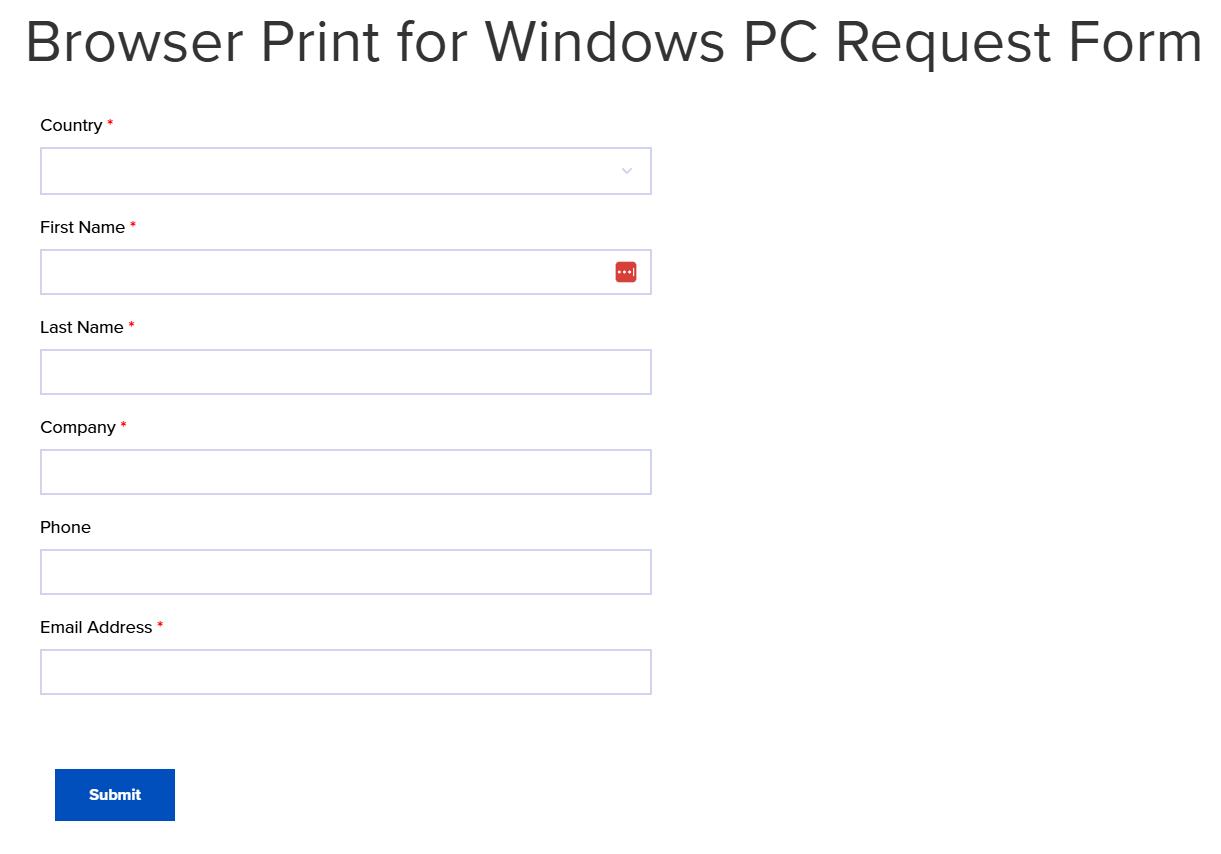
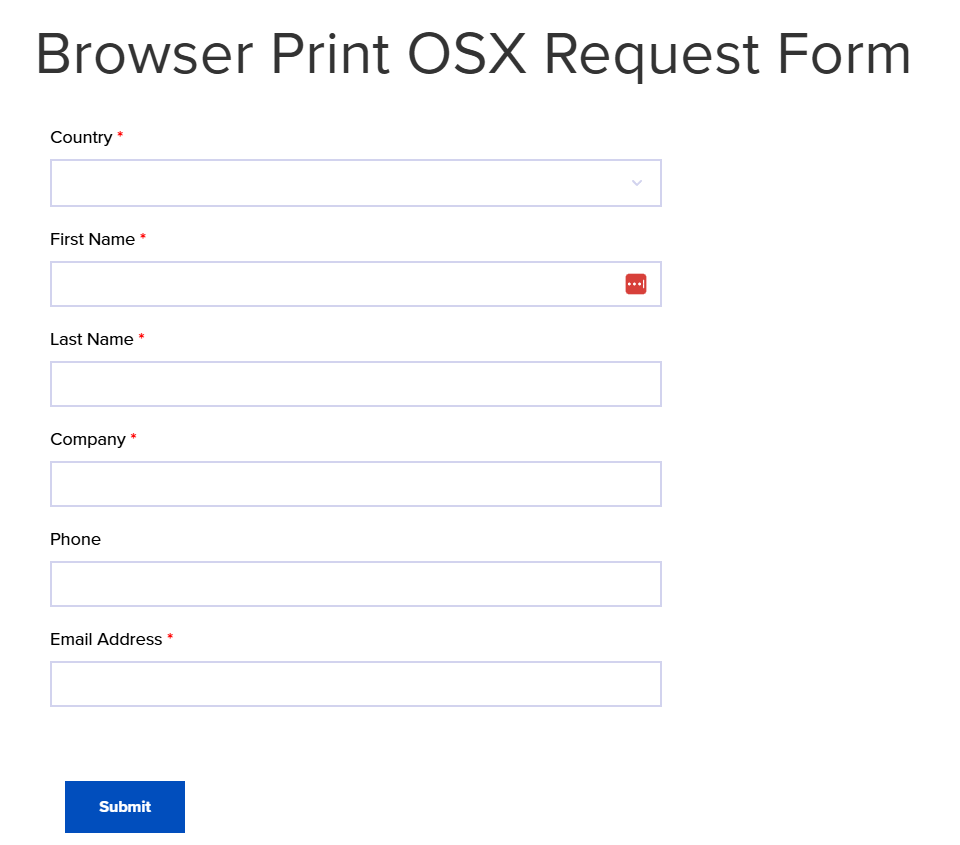
- Fill out the form about your business as best as you can, and hit Submit.
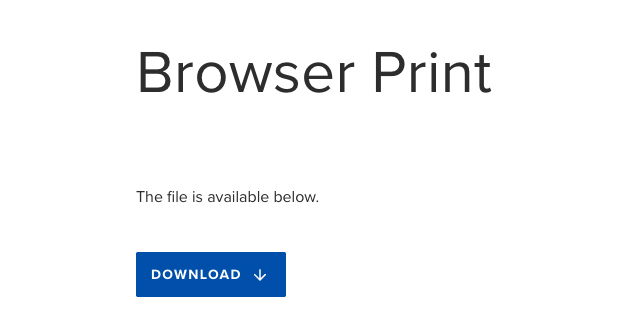
- You should see this screen now. Click the blue 'DOWNLOAD’. Accept the terms and continue with the download.
- Once the driver is downloaded, double-click the file to begin installing. Follow all
prompts the Installation guide provides you, and once installed, proceed to the next directions.
Follow the Browser Print Guide to get the Driver Downloaded and Configured
- Follow the Windows or OSX guide based on your computer
- Once you have the printer configured with your computer, go to the Posabit Portal. Navigate to the product you want to print a barcode for. Go to the Product Details or Inventory page and select the product.
- From the Product, select the blue View button.
- Select the associated package tag.
- Select More Details.
- Select Other Actions, then Print Barcode via Zebra Printer.
- Select the associated package tag.
- When you click that, two things should pop up on the screen. One is a dialog box asking to accept app.posabit.com as an accepted host for Zebra Browser print. Click Yes.
- You should now see app.posabit.com on the accepted host list on the Zebra Browser
- You should now see app.posabit.com on the accepted host list on the Zebra Browser
- The other thing that popped up on your screen in step 4 is this box asking how many labels you want to print. Enter in 1 for now, and hit Print Barcode. The barcode should print! Your job is done. If the label didn’t print, or you get some kind of error, go to the next step.
- If the barcode doesn't print, go to the Zebra Browser App, select app.posabit.com on the accepted host's list, then hit Delete. Try steps 3-4 again to connect to the printer.
- Repeat steps 3-5 to continue printing barcodes.