How to Manually Enter Locations into Metrc

The last set of data you will create prior to importing your current inventory are locations. Locations (rooms) are an optional field that allows venues to track the current location of each product. This can be used in a very general way such as marking products that are on the floor vs. the back room. Or this can be used in a specific way, for example, by labeling which display case each product is in. To help you perform this step, reference the 3rd tab within the POSaBIT provided spreadsheet to find a list of every room that is currently setup within your venue.
Below are the steps for creating locations within the Metrc web portal:
- Login to the Metrc web portal
- Locate and select “Locations” from the ‘Admin’ dropdown menu found at the top of the page
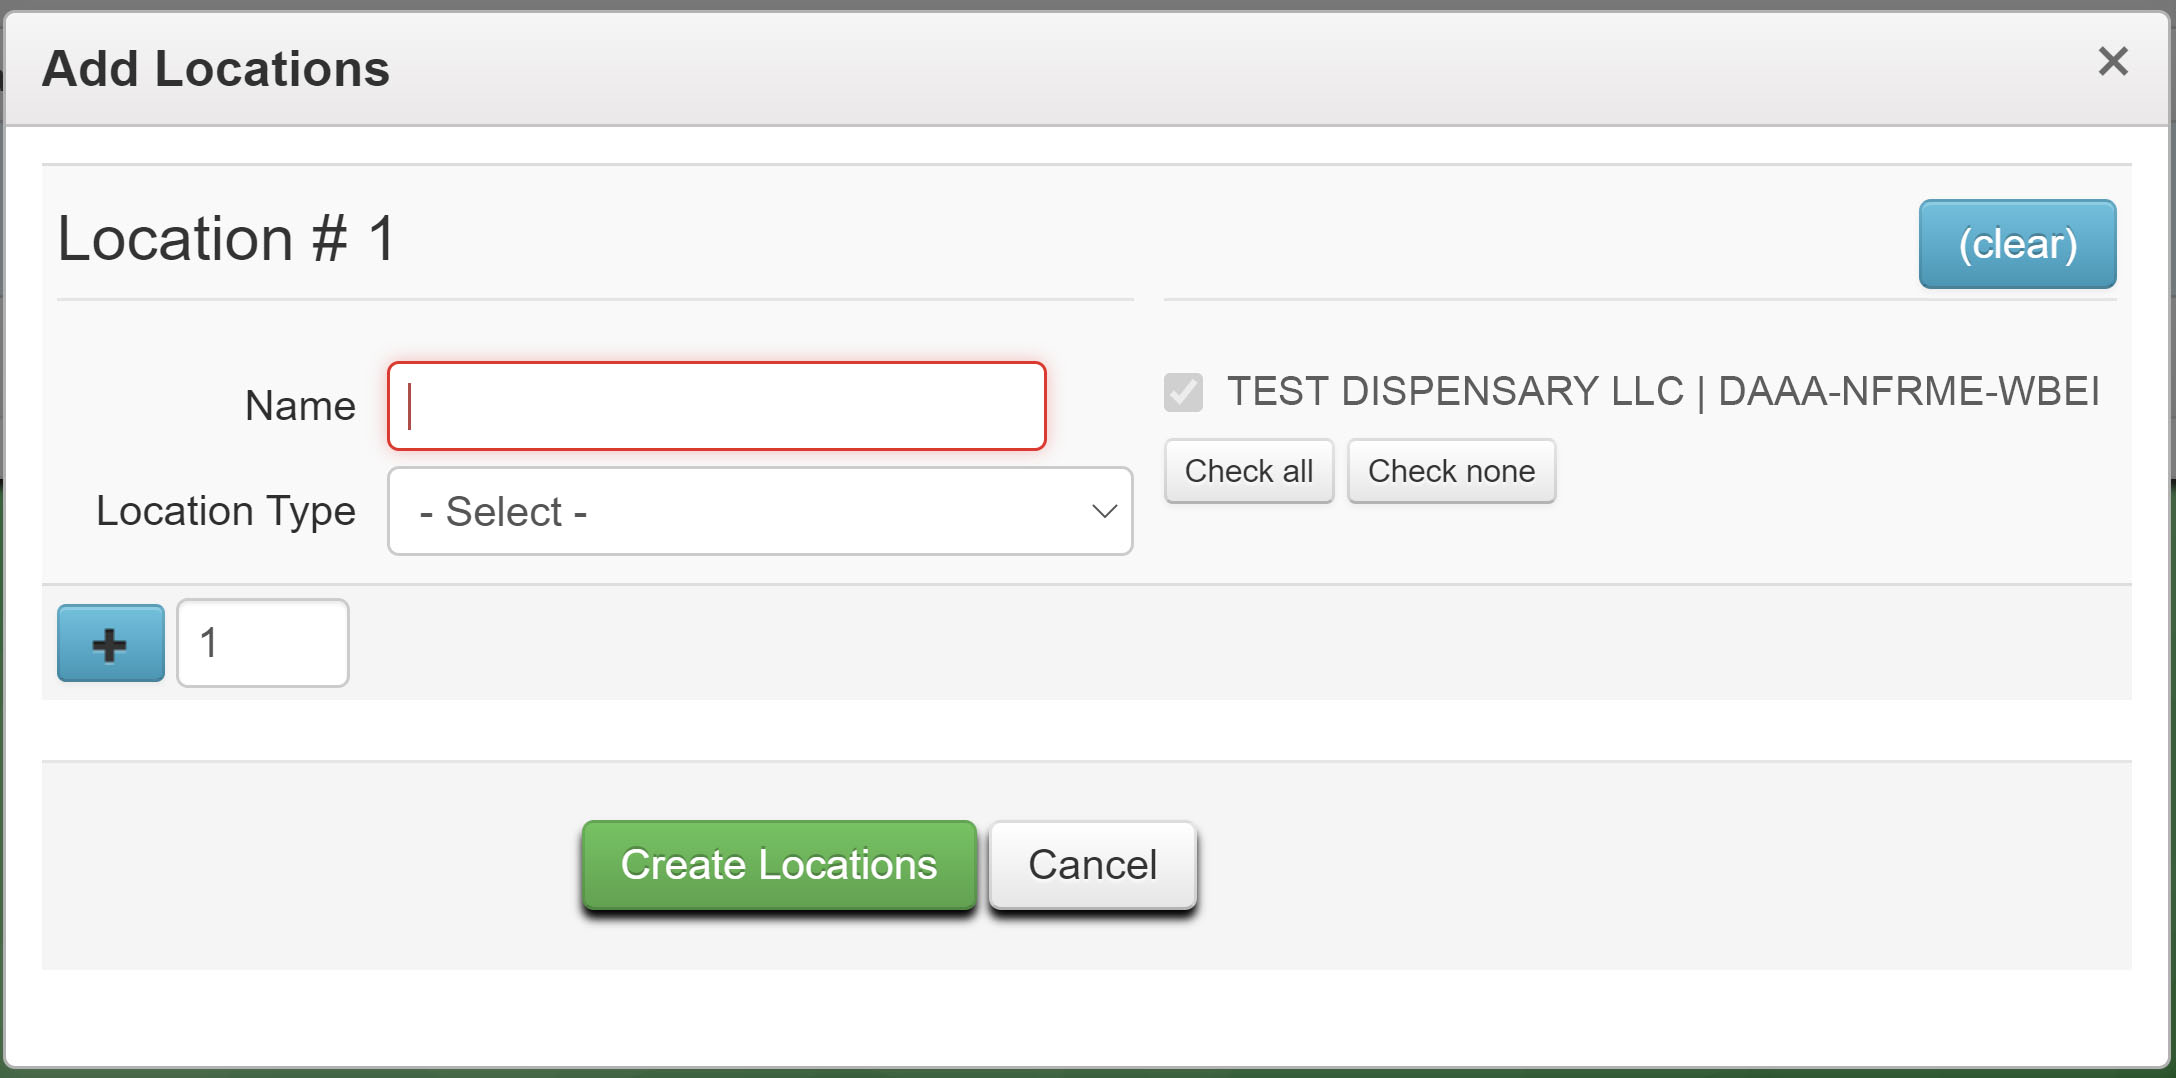
- Once on the locations page, select “Add Locations” at the top of the table to start creating a new location
- On the pop-up enter in the desired location name and select “Default” from the location type selector
- If you would like to add more than one location, press the blue “+” icon to add more than one location
- Once you have added all desired locations, press the green “Create Locations” button
Your account is now setup and ready to receive your current inventory, to learn how to import your current inventory into Metrc click HERE
For additional assistance please reach out to POSaBIT support @ 1 (855) POSaBIT OR SUPPORT@POSaBIT.COM