Inventory Rooms Overview

Inventory 'Rooms' is a useful feature that helps you manage the location of inventory, as well as the visibility of sellable inventory on the POS. For any given lot/package, you can assign it to a room that is either 'visible to POS', or not.
For example:
Let's say a store has 4 Display cases spread around the store as well as a massive storage area in the back room. With rooms you will be able to build out a different "Room" for each display case as well as one for the back room. Then, once these rooms are created, you can associate different Lots/Packages to each room. This allows for easy visibility on where your products are located, as well as allowing you to customize what products should be sold first.
Where are rooms utilized in the POSaBIT Portal?
Accepting an incoming manifest
While accepting an incoming manifest, you specify exactly which room you want this lot/package to live in
Filtering on the lots/packages page
Filtering Inventory Reports
Searching for Products on the cart screen (POS)
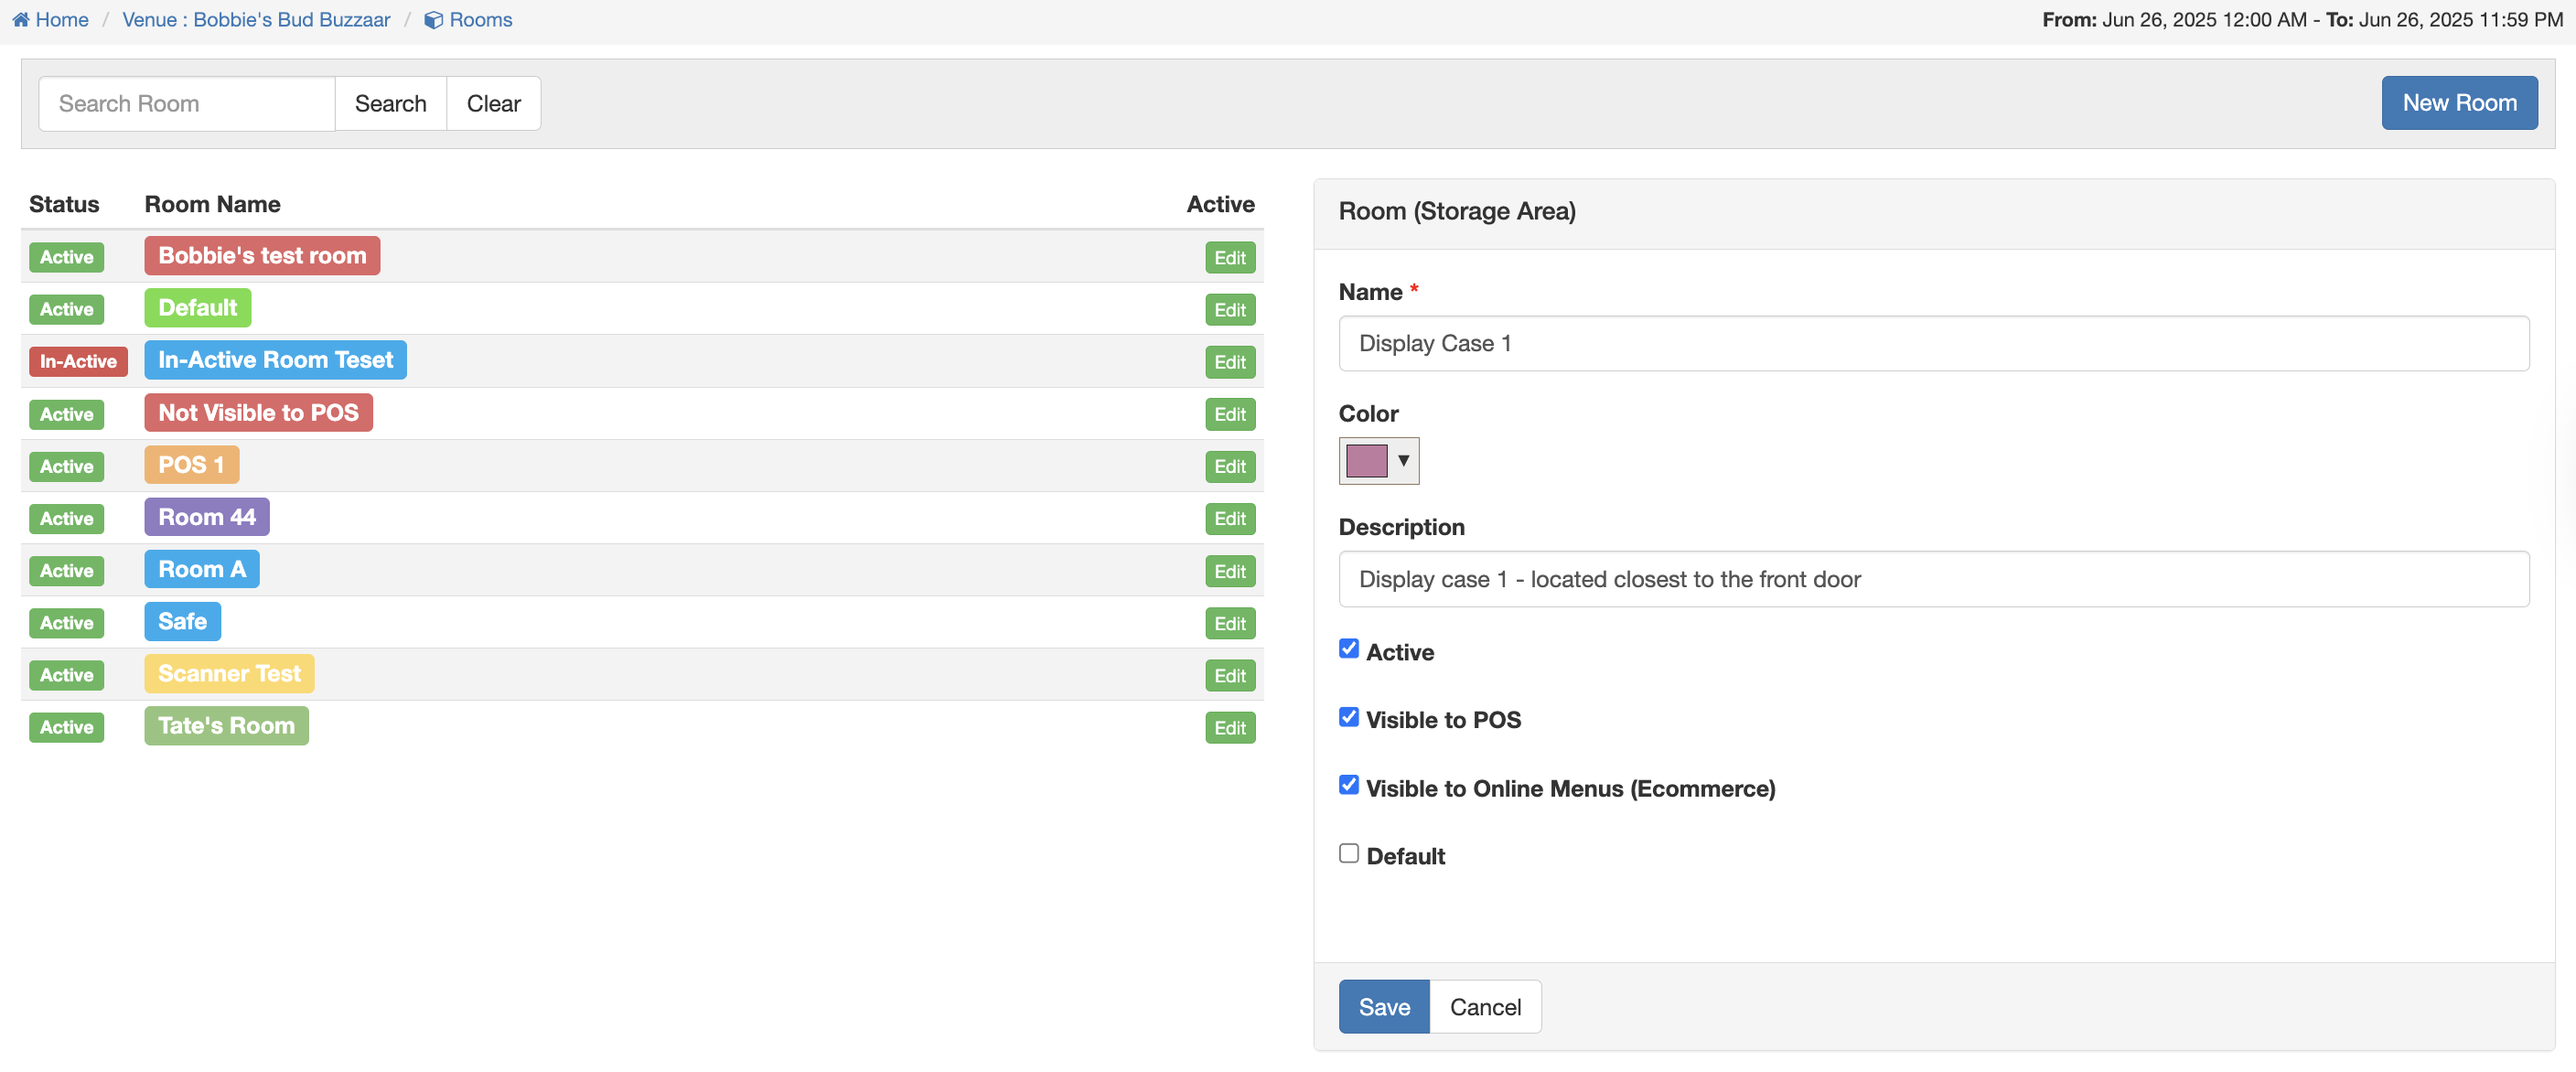
How to create/edit rooms?
- Log in to the POSaBIT web portal
- Navigate to the Rooms tab found under the Inventory drop-down on the top of the screen
- Choose whether you wish to edit an existing room or create a new one:
- To edit an existing room, press the green Edit button for the associated room name
- To create a new room, press the blue New Room button in the top right-hand corner
- You will now see a box pop up on the right side of the screen. Here you can name the room, give the room an identifying color, as well as add a description. Additionally, there are several settings that affect how products within the room are displayed/configured. These settings include:
- Active: This is how you make the room either active or inactive.
- Visible to POS: This checkbox is used to designate if the products in the room should be sellable on the POS.
- Visible to Online Menus (Ecommerce): This checkbox is used to designate if the products in the room should be sellable on the POS.
- Default: This checkbox will designate this selected room as the default option when accepting new manifests. Keep in mind that only one room can be set as the default at any given time.
- After setting all desired settings for the room, press the blue Save button in the bottom left of the edit box.
How to link lots/packages to an existing room:
You can link lots/packages to an existing room in several different ways. Below describes the different methods you can use to link a lot/package to a room:
- When accepting an incoming manifest: When accepting an incoming manifest the system will ask you to choose a room for the accepted lot/package. To learn more about how to accept a manifest and link a room, click the following link:
- Using the bulk edit feature on the lots/packages page: The bulk edit feature on the lots/packages page allows you to easily filter products and bulk link them to a specific room. To learn more about bulk editing on the lots/packages page, click HERE.
- Make room changes from the lot:
- Navigate to the Lots page and find the lot you'd like to update the room for.
- Note: You can also find the lot by going to the product, then selecting the lot from within that product's details.
- Click on the Lot number
- A pop-up displaying the selected lot's details will appear. Find the Room field and select the room you'd like to switch this lot to.
- Click Save to finalize the changes.
- Navigate to the Lots page and find the lot you'd like to update the room for.
For additional assistance, please reach out to POSaBIT support @ 1 (855) POSaBIT OR SUPPORT@POSaBIT.COM